The 1802 Membership Card
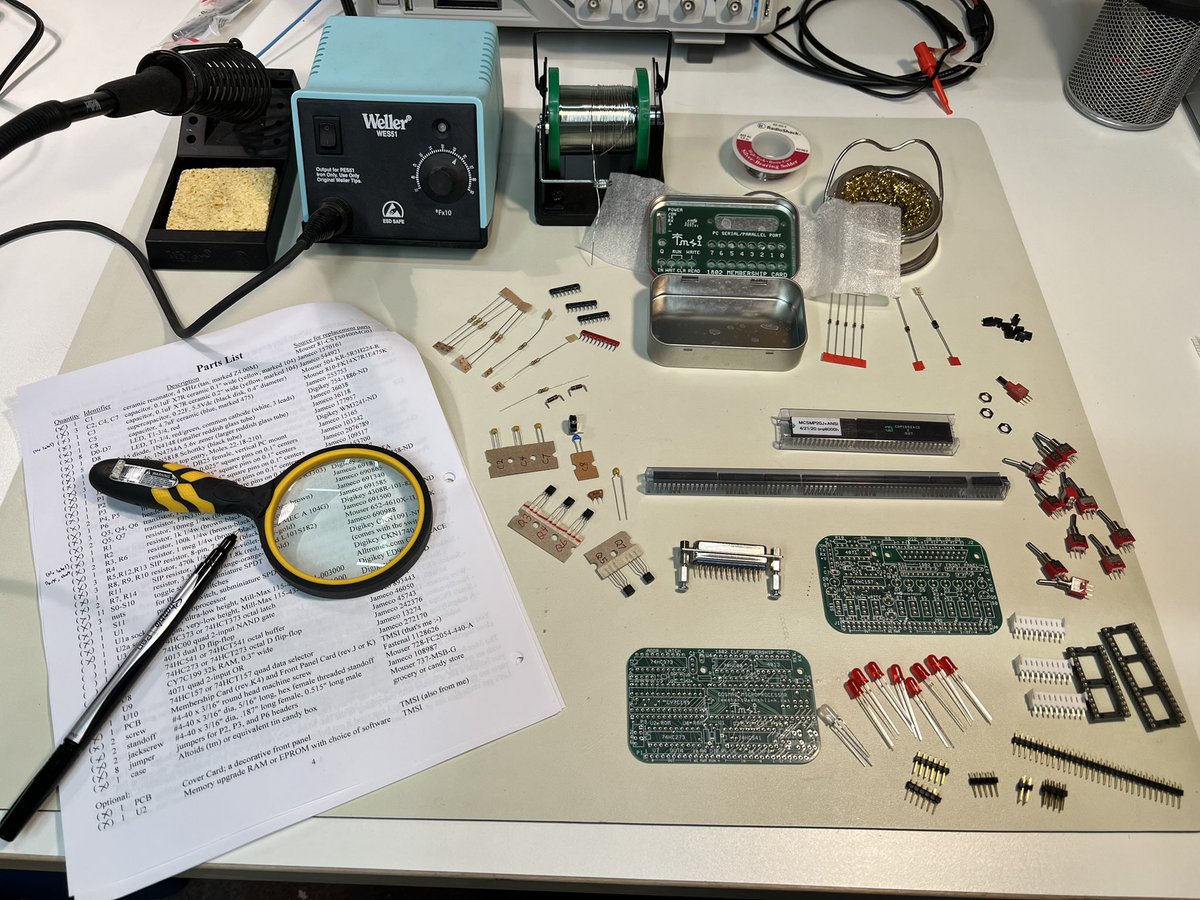
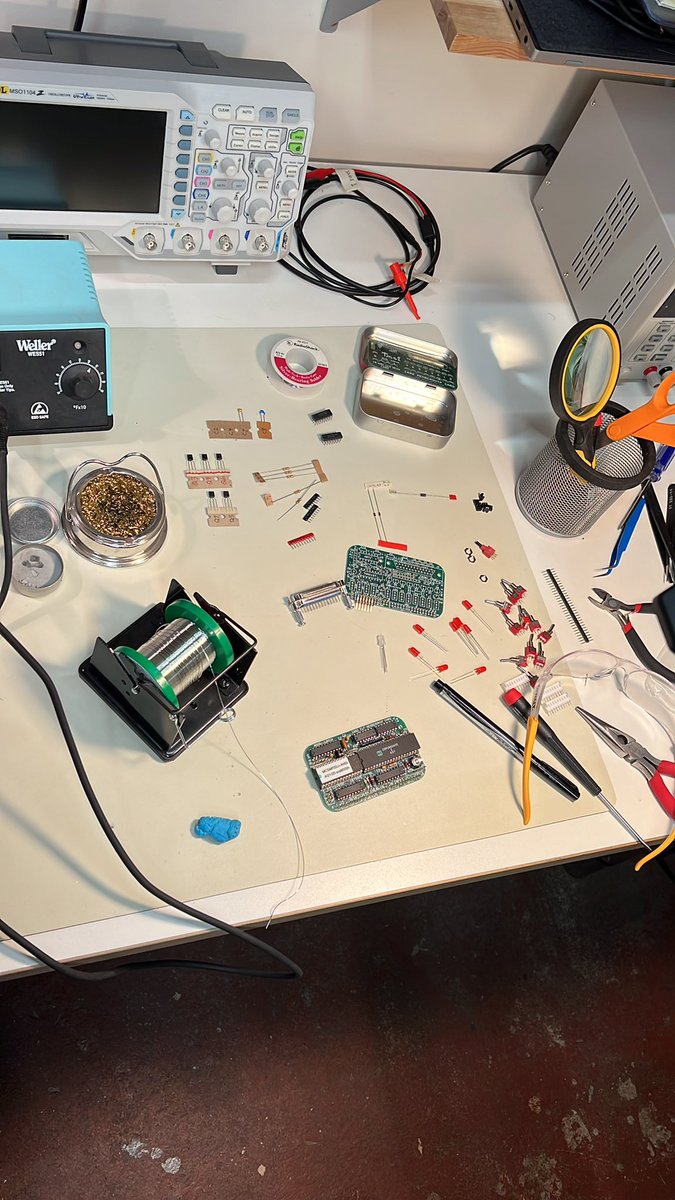
It’s a lovely Saturday which means it’s time to build the 1802 Membership Card by Lee Hart! This complete kit computer fits in an Altoids tin and has lights, switches, and serial ports. sunrise-ev.com/1802.htm

This kit is meticulously designed and assembled, and comes with a delightful assembly guide and operations manual. The computer is based on the COSMAC 1802 processor by Joseph Weisbecker, featured in Popular Electronics August 1976.
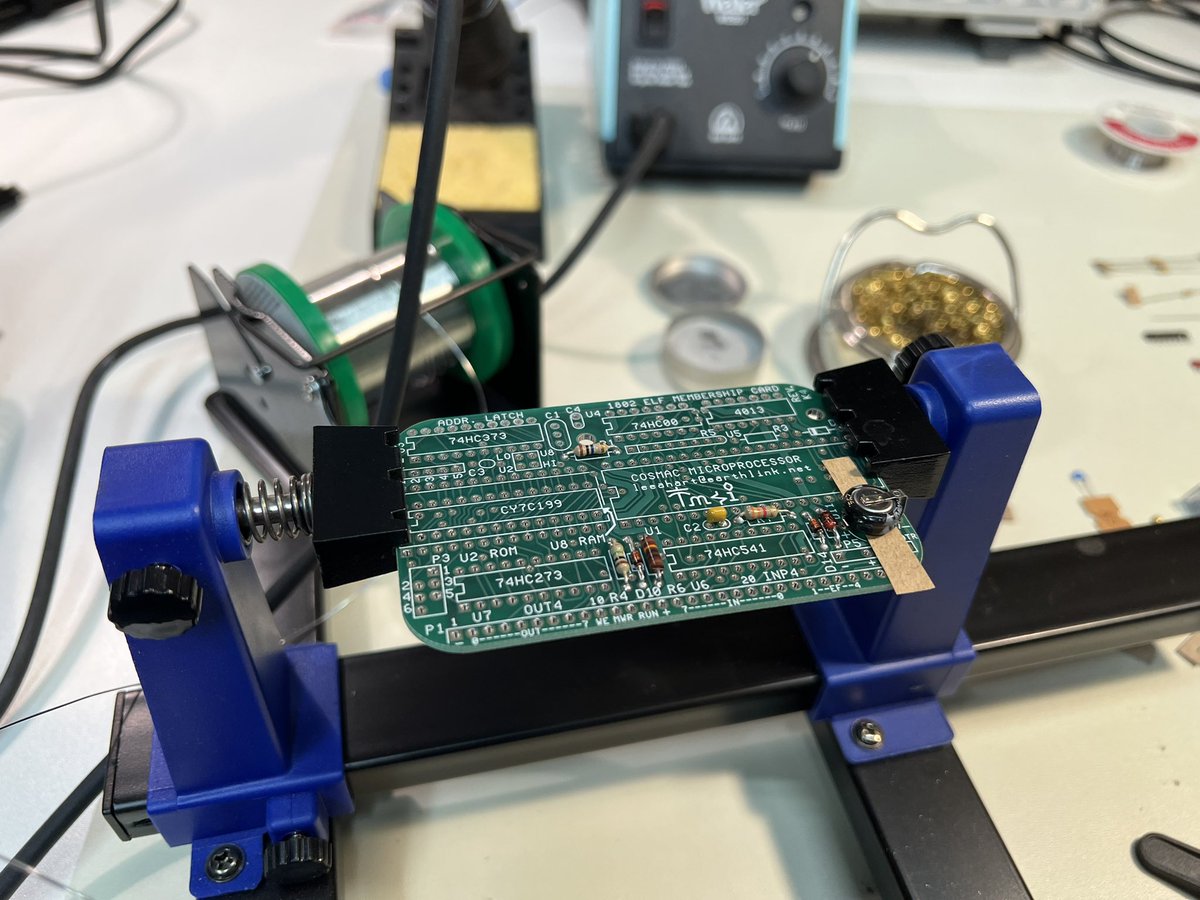
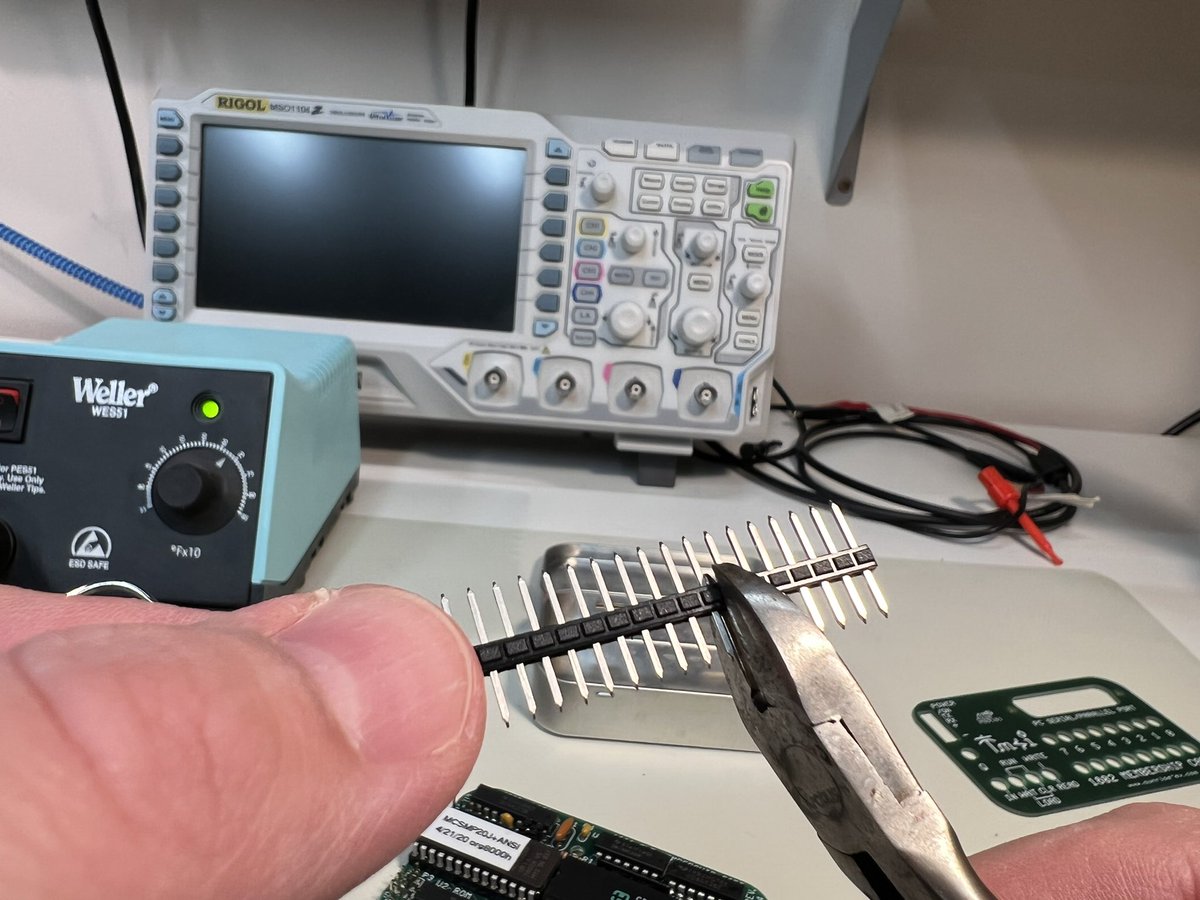
I’m using the “hard way” instructions to get it to fit fully into the tin, which requires some maker-y finessing to shorten the headers. I trashed a set of included pins, but thankfully had extras in my bins. Nearly broke the supercapacitor! It’s been ages since I’ve done a kit.
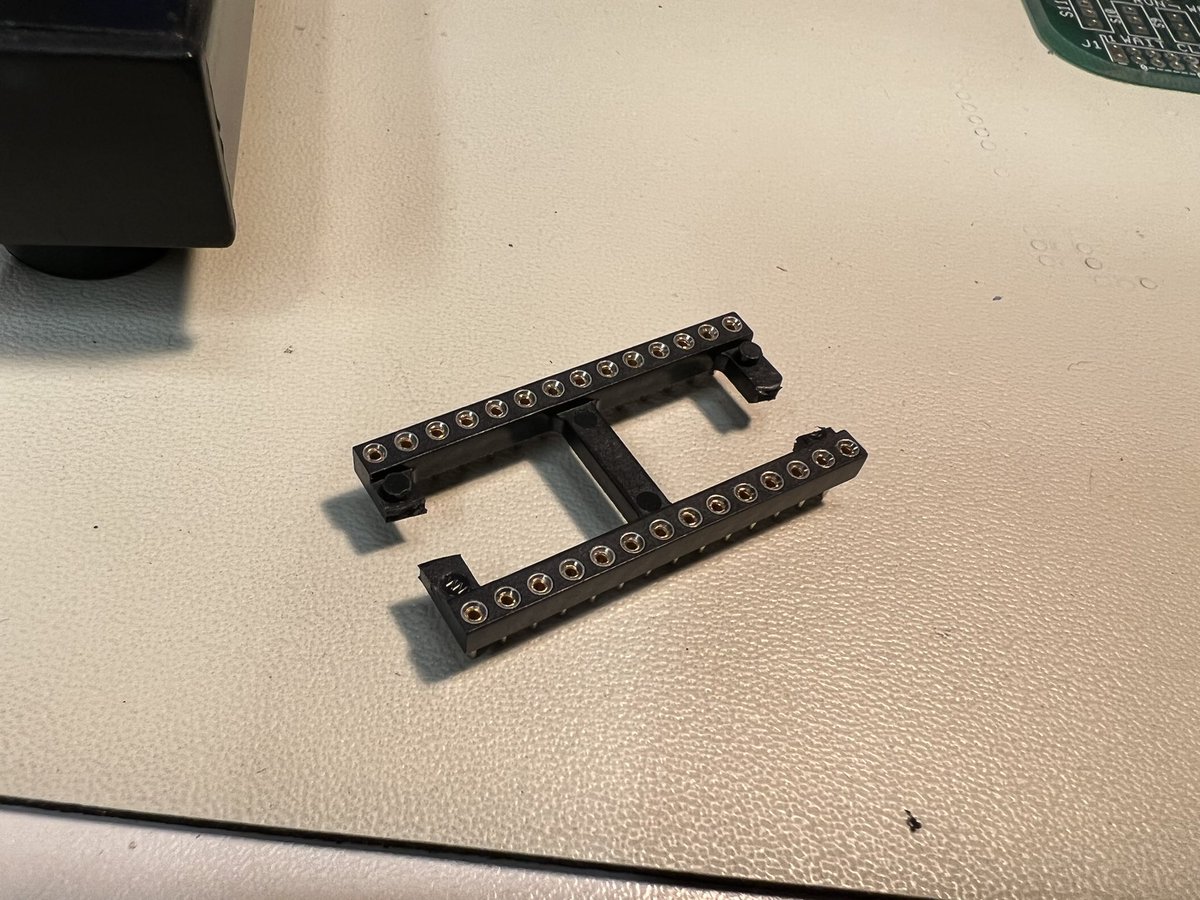
Another goofy bit: the EPROM straddles the RAM chip, so you have to cut apart a socket into two rails. Side cutters worked great.
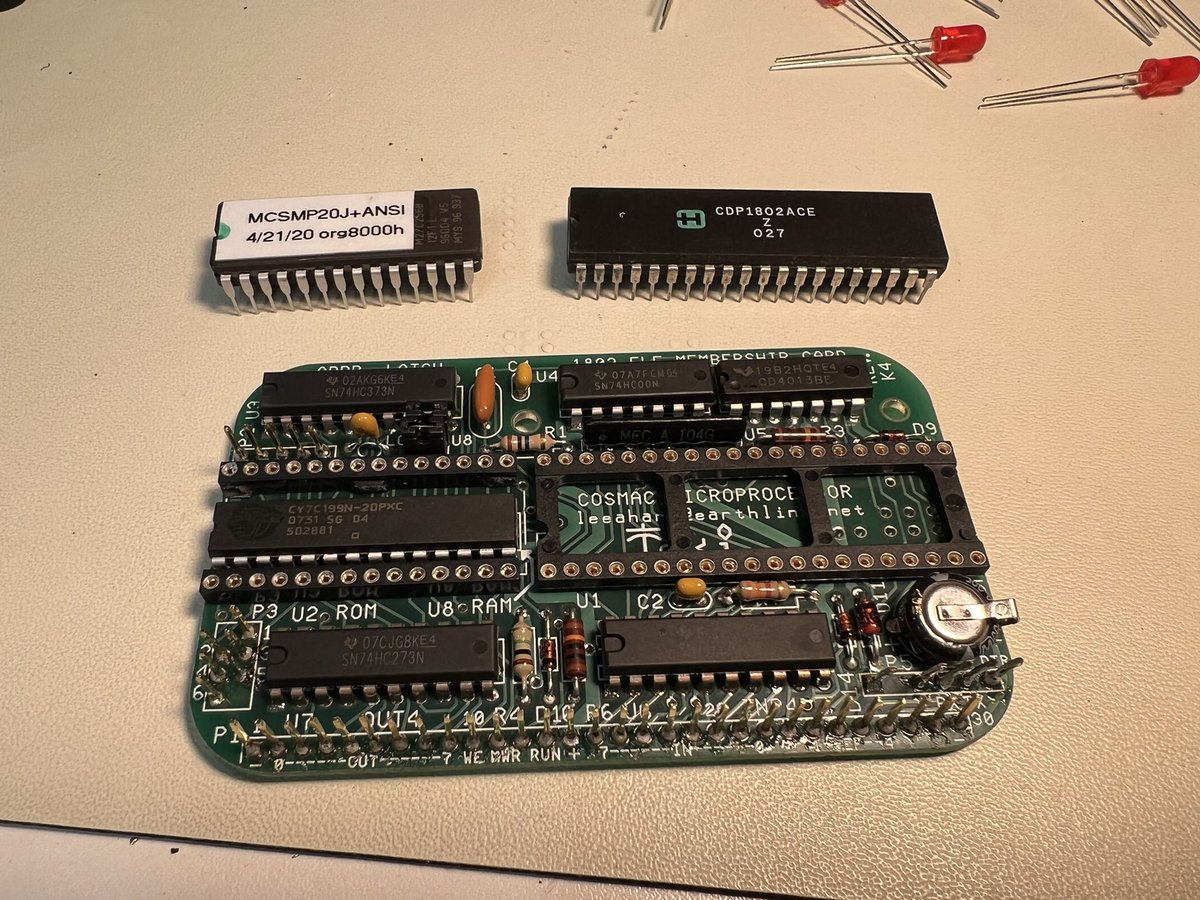
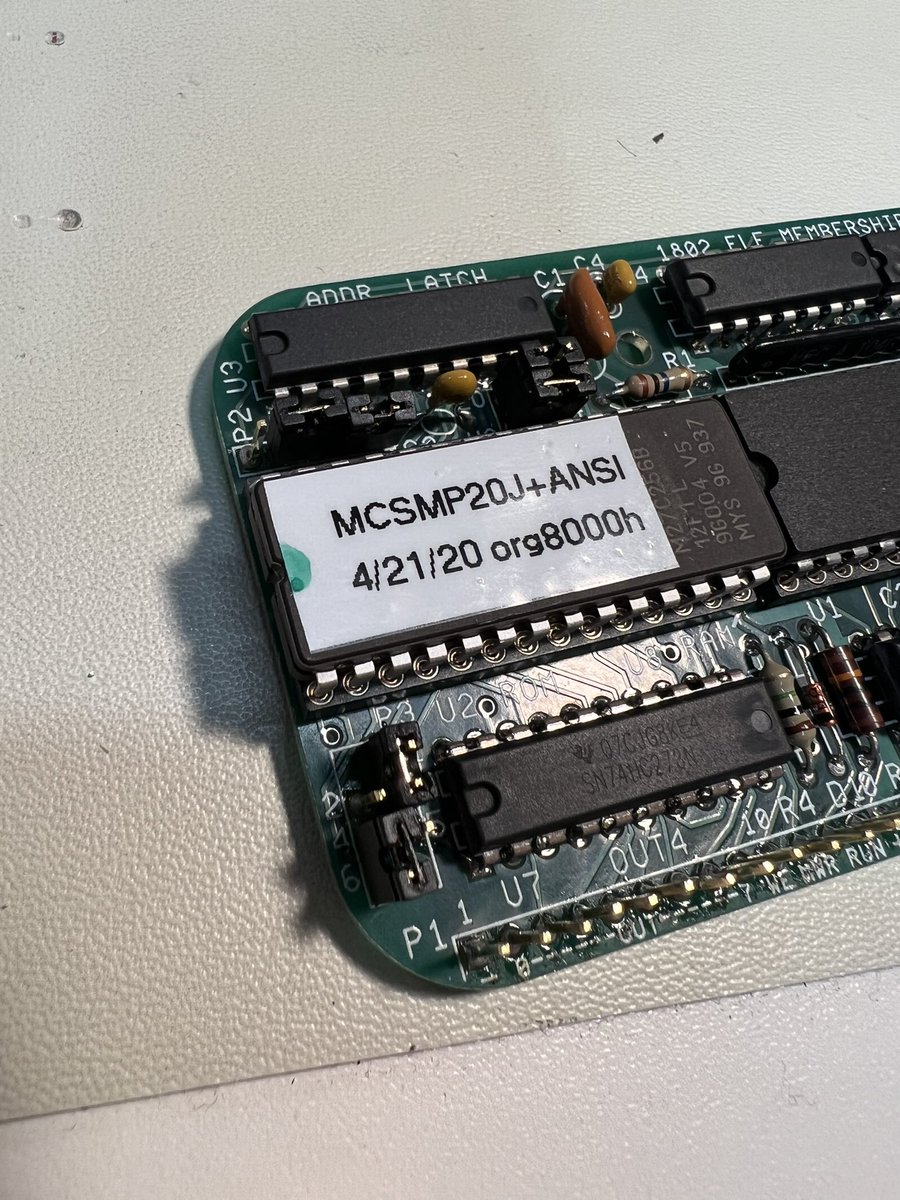
Main board complete! The 1802 (right) and pre-programmed EPROM (left) are socketed. The EPROM is optional and could be any EPROM or more RAM. Lee sells several options with goodies to try.
I’ll do the front panel tomorrow. My wife just came down to tell me it’s 7pm and the kids haven’t had dinner yet.
Front panel assembly. Getting lights, switches, and plastic to line up nicely is always the craftiest part of these kits. Ideal kits are designed for east assembly but this is a lot to ask of electronics hobbyists. This one is pretty good!

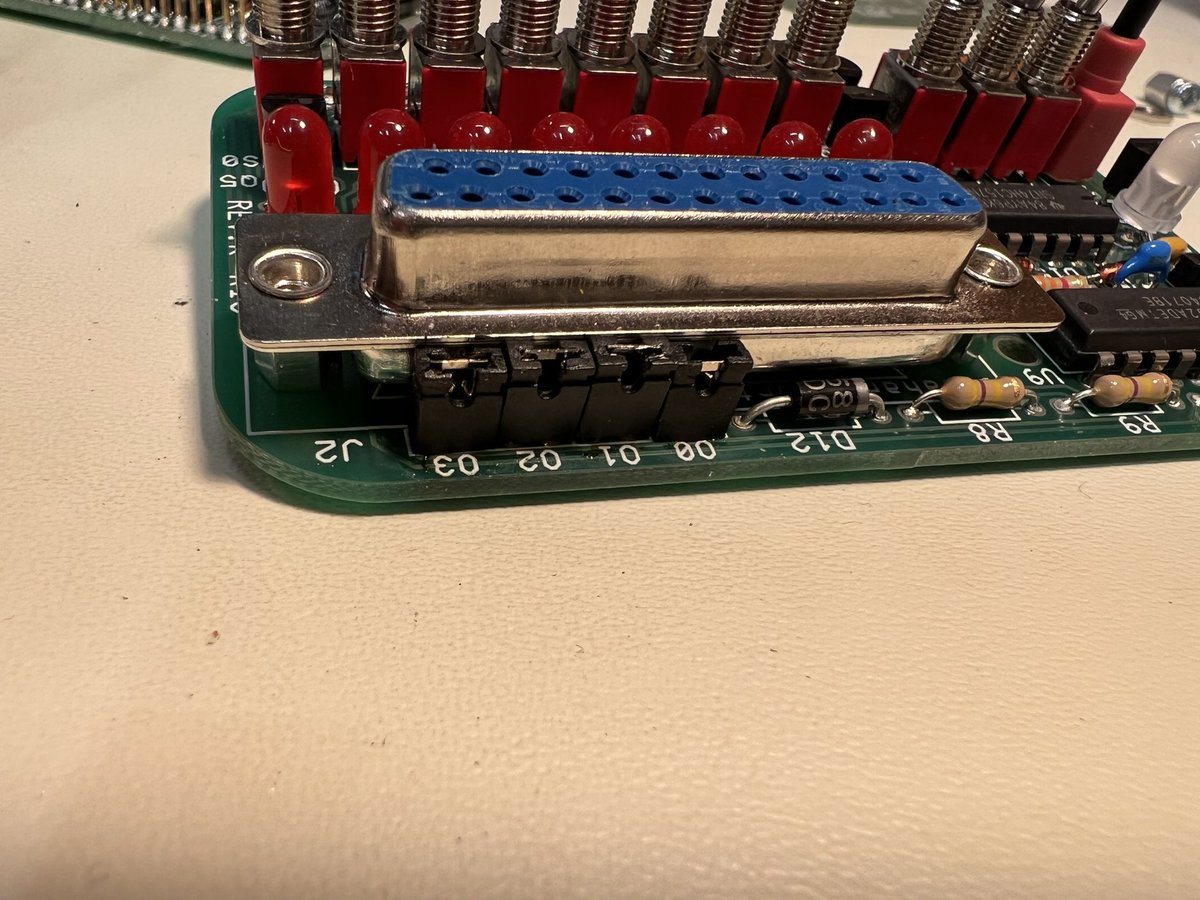
The parallel port is configured by shorting terminals. I decided to do this with jumpers. Headers for this weren’t included so I’m breaking out my own.
I wore safety goggles diligently all day yesterday, and this is the one cut where I got lazy. I’m fine, but it was close. 😬
Not sure it was worth it. The jumpers bump against the parallel port hardware and will be difficult to remove if I want to change the config. Meh.
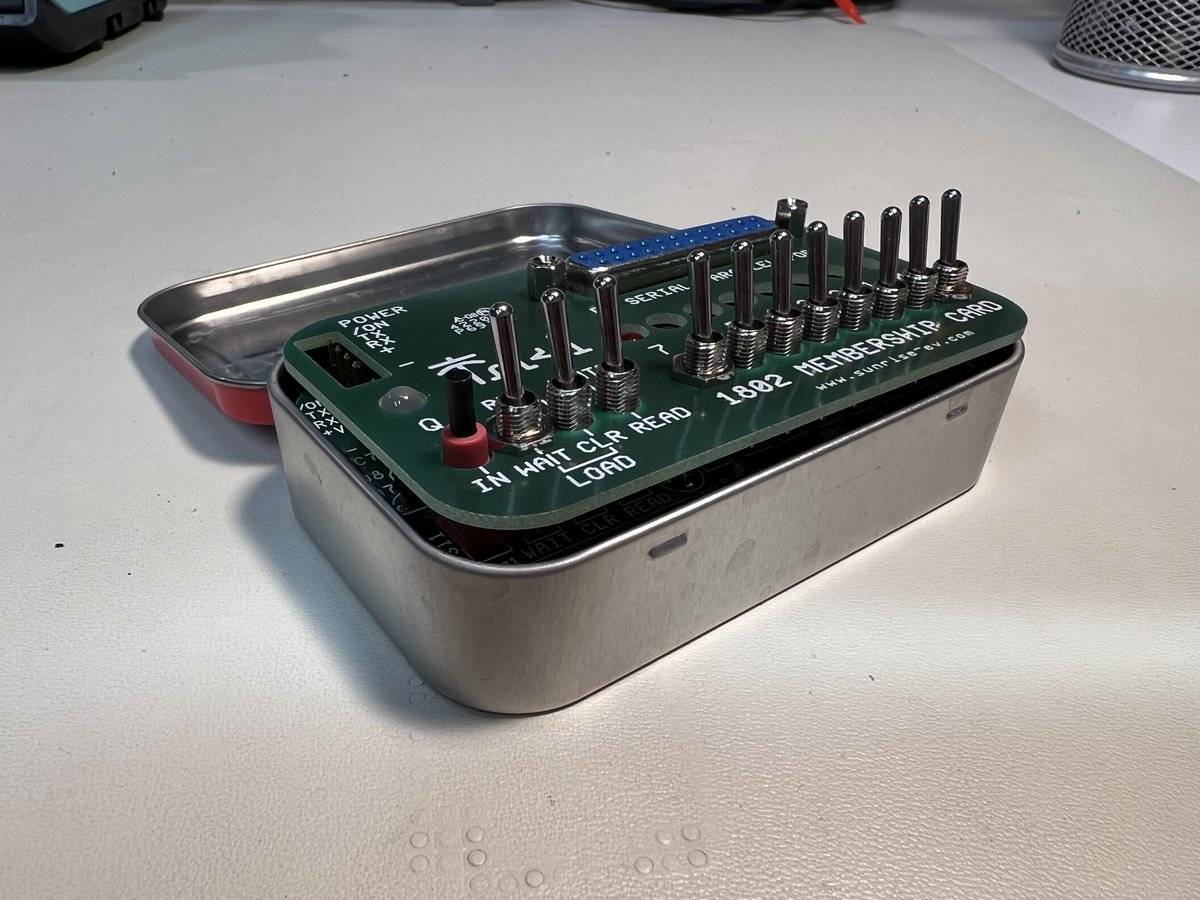
Final assembly! Don’t worry, there’s a provided paper insert to separate the main board from the metal tin. The case is a goofy idea anyway, it won’t close over the switches. 😝
Here goes nothin’!
Program 1: blink the light really fast! Narrated entry, checking, and running of the program using the front switches. 😊
Program 2: blink the light slowly. I won’t make you watch me enter the whole thing, this is just running the program.
Looks like I have an unfortunate short in the momentary switch, or something. I’m accidentally entering values while messing with the switches. Fixing an error requires step reading from the beginning to the error.😑
… and then another scroll through to just before the error to go back into write mode. Switching to write mode will start writing at the next location, not the current one. Makes sense. Also no address display makes this harder!
I hand-wrote and hand-assembled a little animation program, thinking I would key this in with switches. Someone check my math. 😝
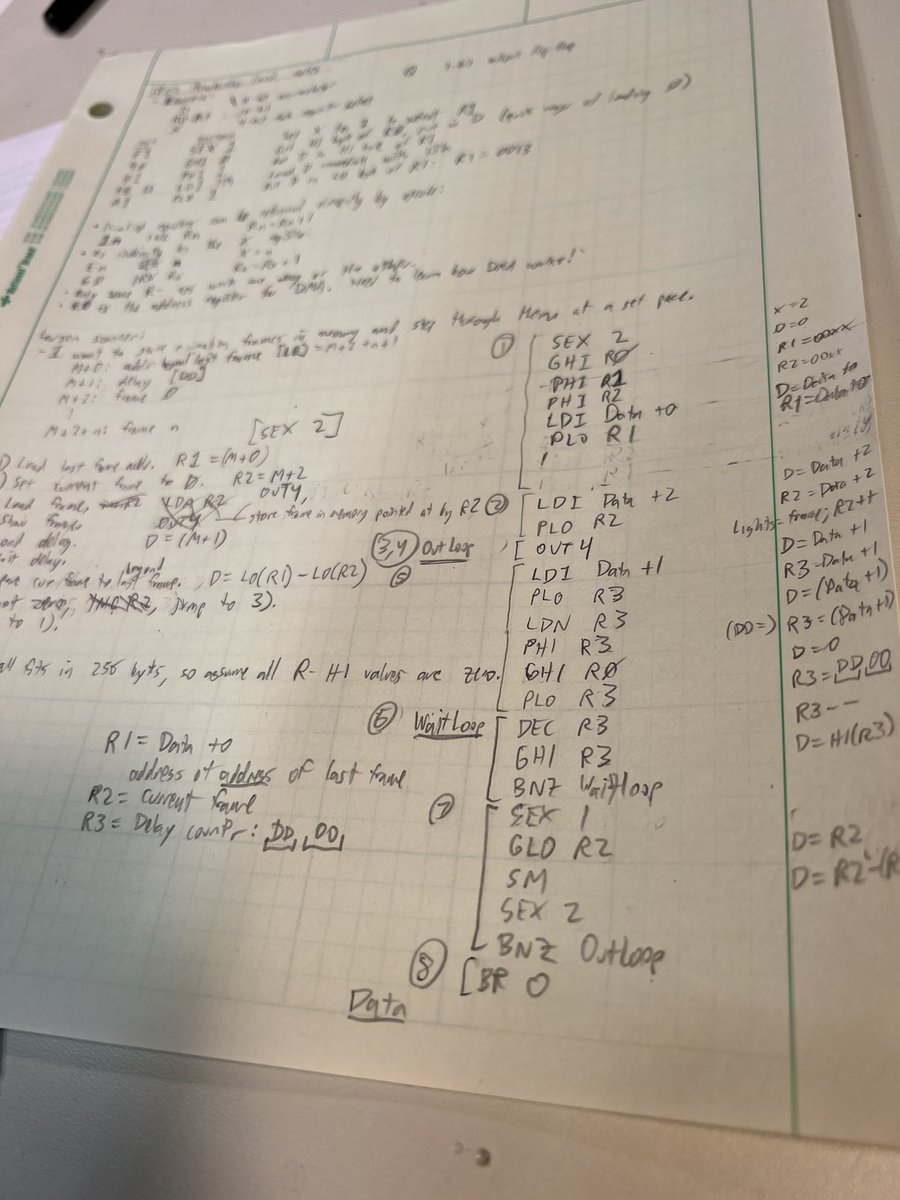
Here’s me trying and failing to key in my program due to the short circuit flaw that appears to be triggering IN while I flip switches, entering bad data that I then have to step to locate then step to fix. Video and audio sped up 8x for your amusement.
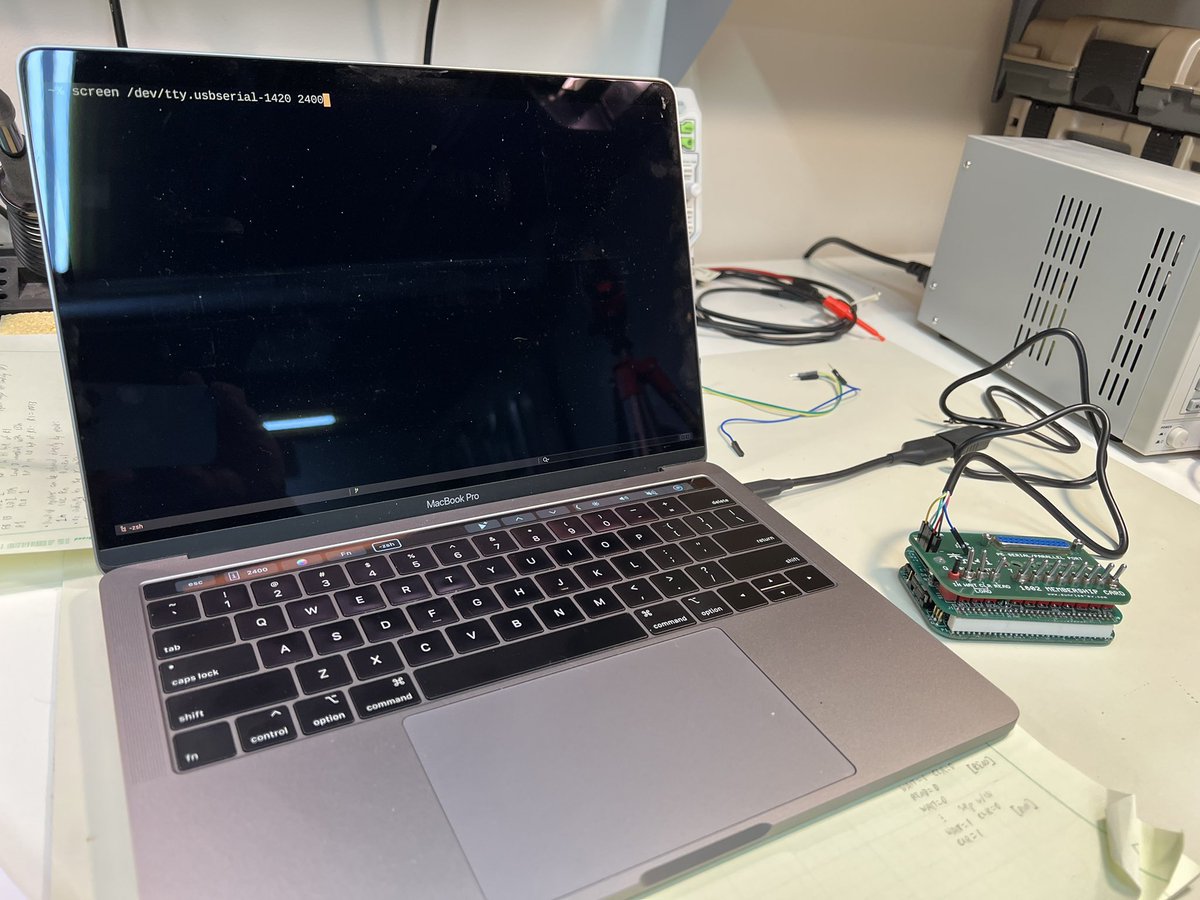
Moving on to trying out the software EPROM over a serial connection, I’ve got an FTDI-USB Serial cable with loose single-pin connectors. I’m 95% sure I’m connecting them correctly. The CPU activates when I run the screen command. Neat!
The EPROM puts the software at address 8000h, so I can key in a jump instruction at 0000h: C0 80 00. I’m 95% sure I’m entering it correctly, but when I run it nothing happens. According to this video (not me), I should get light blinks and serial activity. youtube.com/watch?v=i-GV0g…
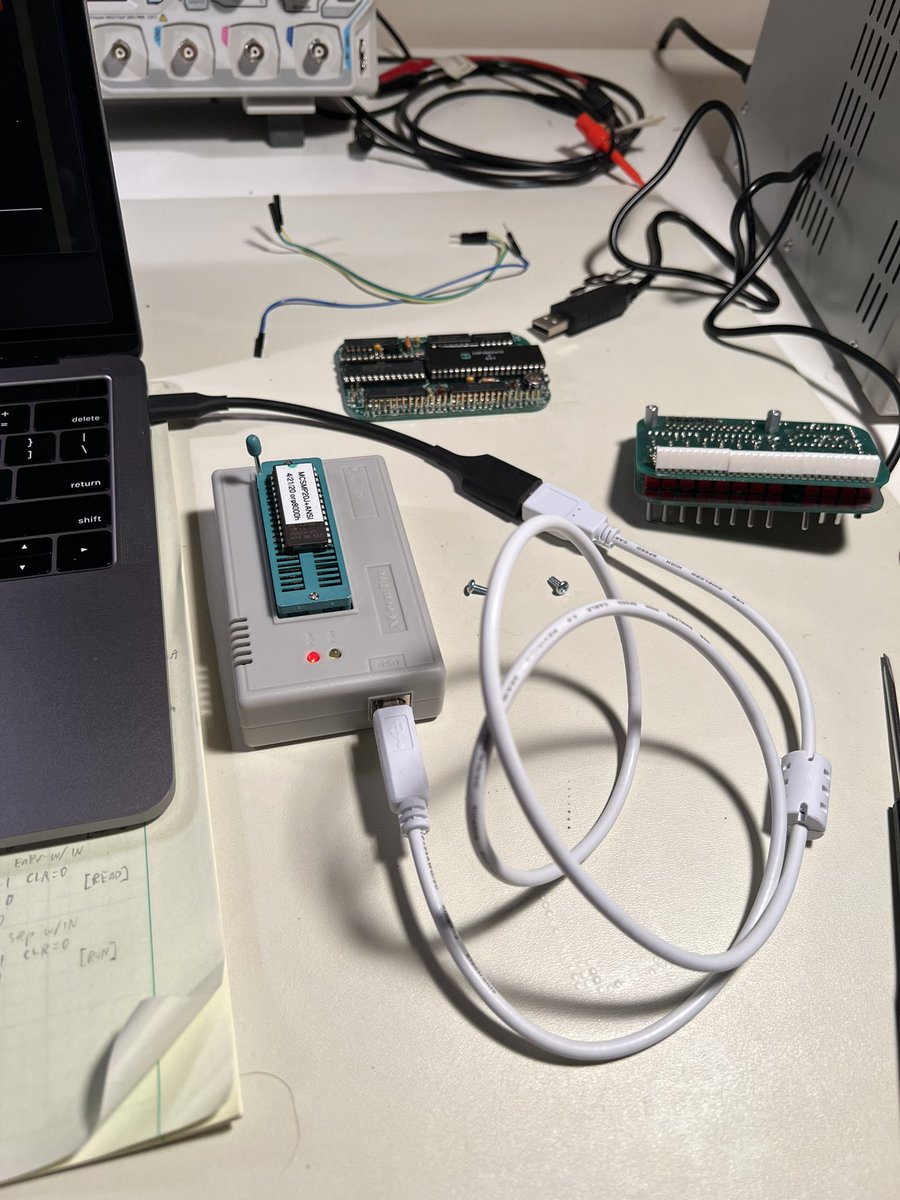
I wondered if the EPROM is OK so I pulled out my TL866 programmer, installed minipro (brew install minipro), and read off 32K. This matches the download from the website. 🤷♂️
Many thanks to Lee for his generous reply to my email! It turns out the printed instructions included with my kit were a previous version missing a step: I needed to short the P2 and P3 pins for the EPROM configuration.
Success! FTDI-USB serial provides power and communication. C0 80 00 jumps to the EPROM software. Press Enter to establish the bitrate and start the command prompt. It’s a real computer!
Of course the first order of business: play the Adventure game! Apparently I can’t swim out of the quicksand bog while carrying the statue of the ox. This will require more thought.

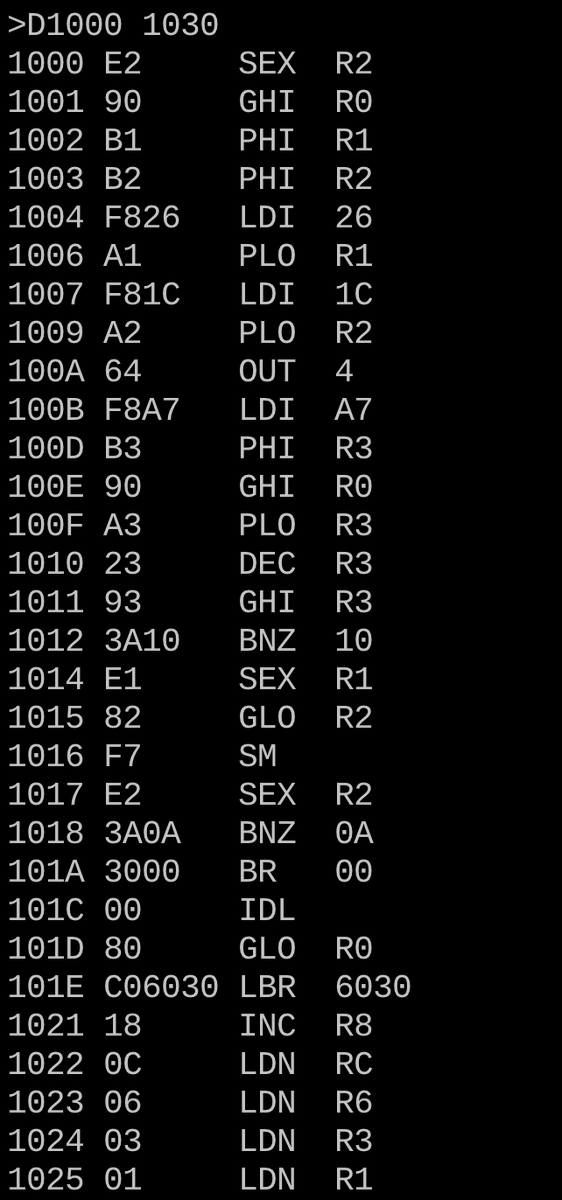
I can also use the prompt to try my hand-assembled animation program. Will it work on the first try?
I shouldn’t be so impressed but it’s freaky to see the disassembler match my hand-written assembly, including all of the “labels” I counted out. Not too shabby!
(Originally posted to Twitter on February 13, 2022. It received 14 likes and 2 retweets.)