Try this first!
You don’t want to read stuff, you want to play with your new MEGA65! Well good news, there’s tons to play with, without ever having to download a file or crack open the case.
The fun is in the digging, so if you’re ready to go, stop reading now and dive in. Come back to this section for some things to try before going further. Have fun!
Tip
The User’s Guide, 2nd edition, covers many of the topics described here. See the Guide for more detail.
Your computer may have newer firmware and system software than was used to produce the screenshots in this section. The differences are minor.
Tip
Does your MEGA65 not boot when you turn it on? A small percentage of HDMI displays have a known issue, and there’s a workaround. See Failure to boot, and keyboard lights glow when off.
Connecting peripherals
Your MEGA65 only needs to be connected to its power supply (included) and a monitor (not included) to operate. The MEGA65 has two connectors for monitors: a VGA connector, and an HDMI connector. Both connections work simultaneously, showing the same display. See Video display compatibility later in this Guide for some notes on monitors.
The MEGA65 has two methods of producing sound: over the HDMI connection, or through the dedicated audio jack. You can connect headphones or speakers to the audio jack. To use a display that takes audio over HDMI, you must change a setting, which you’ll do in the next step.
If you own an Atari- or Commodore-compatible joystick, gamepad, or mouse with a DE-9 nine-pin connector, you can connect it to one of two nine-pin ports on the lefthand side of the machine. The MEGA65 supports both the Commodore 1351 mouse and the Amiga mouse. The Amiga mouse requires setting a configuration option. Modern mouse replacements such as the mouSTer adapter or the wireless Amiga tank mouse are expected to work. Personally, I use a 1351 mouse in port 1 and a modern Commodore-compatible gamepad in port 2.
Note
Before connecting a mouse, be sure to set the mouse mode in the configuration step, described later. If an Amiga mouse is connected while the port is in the wrong mode, it may interfere with the behavior of the keyboard.
On-boarding
When you turn your MEGA65 on for the first time, it prompts you for some initial settings. The most important setting is the video mode. Use the Tab key to cycle between digital video without sound over HDMI vs. with sound over HDMI (“enhanced”), and PAL 50Hz vs. NTSC 60Hz display modes. Press Space to test a video setting to make sure it works with your monitor.
Note
If your display isn’t working, you may need to adjust the video mode blindly until you find one that works. Older DVI monitors need the “without sound” mode, and monitors vary in their support for 50Hz and 60Hz refresh rates. Use the Tab and Space keys to try the different modes.
Use the function keys to adjust the date and time, as indicated. The MEGA65 includes a Real-Time Clock (RTC) that keeps track of the time for various purposes. If you have a 2022 MEGA65 (R3A, batch 1 or 2), you will need to install the watch battery before the RTC will function; you can skip this step and set the clock later after the battery is installed. If you have a 2024 MEGA65 (R6, batch 3 or later), the RTC will function without a battery for a week or so after the computer has been powered on for a few hours. The battery is optional on this model, for keeping the clock set for longer periods.
Take this opportunity to test your audio set-up. Press the A key to play a musical tone. If you are using audio over HDMI, make sure the video mode is set to “Enhanced (with sound).”
The “CRT emulation” option is a fun choice when using a modern flat panel display: it adds vertical gaps between pixels to simulate the CRT raster line. Try it to see if you like it: press the C key to toggle it on and off.
Demonstration menu
Your MEGA65 is configured to run a demonstration program when you turn on the machine. You can use this menu to launch games, utilities, and demos that show off the capabilities of the MEGA65. Try them out! Remember that you can use the reset button to start over.
Starting with the 2024 MEGA65s, your computer comes packed with 191 software titles across three “intro disk” menus. Use the on-screen menu options to navigate the complete selection.
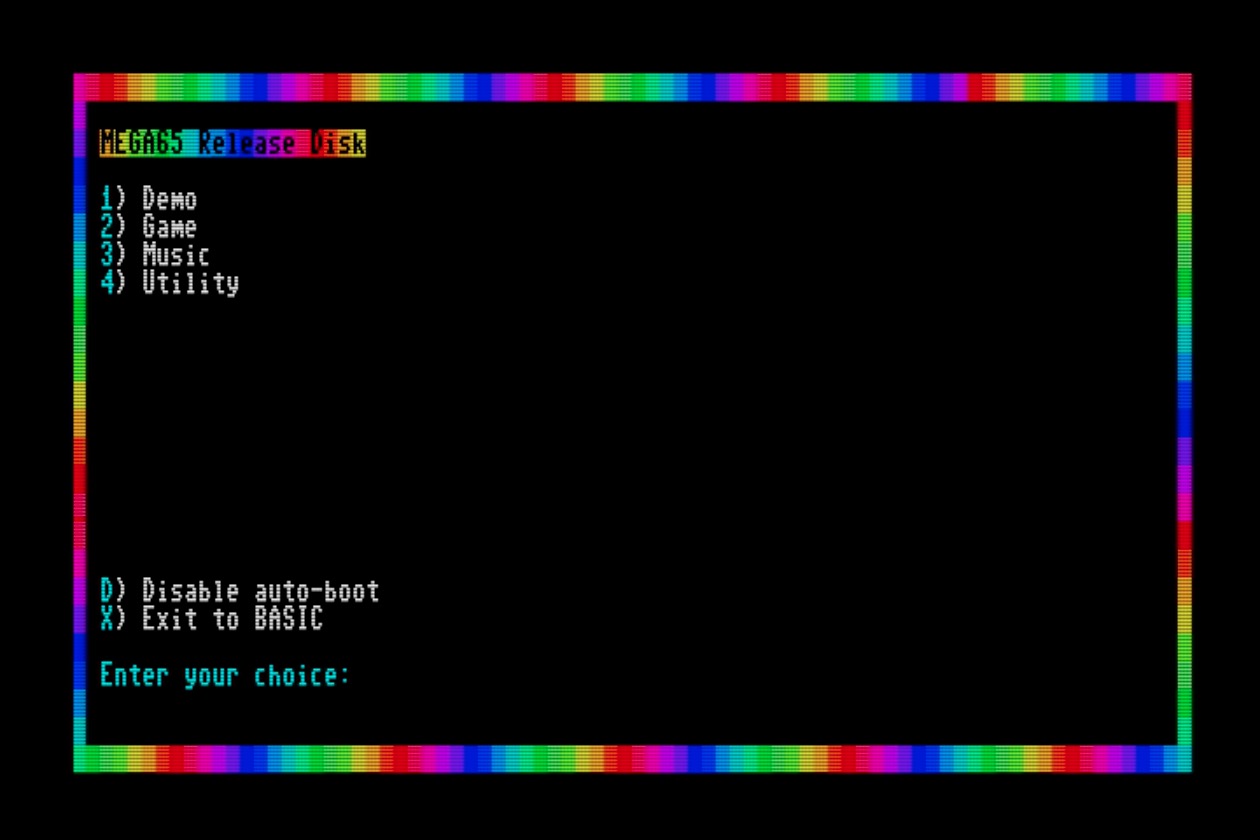
You can exit from the menu to MEGA65 BASIC, the built-in programming and operating environment. This environment is similar to the Commodore 64 and 128, where you can give the computer commands, write programs in the BASIC programming language, and load and save programs.

The demonstration menu is itself a BASIC program. When you exit from the menu to BASIC, this program will still be in memory. You can use the LIST command to see its source code. If you want to clear memory to write a new program, use the NEW command before entering statements.
NEW
10 FOR X=1 TO 100
20 PRINT "MEGA65! ";
30 NEXT X
RUN
Once you have tried all of the demo programs, you will probably no longer want your MEGA65 to start the demonstration mode every time it turns on. Select the “Disable auto-boot” menu option in the top-most menu to disable it. You can get back to this menu later by loading and running the program with these commands:
LOAD "MENU"
RUN
If you change your mind and want your MEGA65 to automatically load the demonstration menu when it turns on, use this command to restore this capability:
RENAME "MENU" TO "AUTOBOOT.C65"
The Freezer menu
The MEGA65 spends most of its time behaving as a Commodore 65 computer would, either running a program or awaiting instructions in the BASIC environment. Your MEGA65 has additional features that were not part of the original C65 design. You can access many of these features from the Freezer menu.
To open the Freezer menu, hold the Restore key for a second or more, then release it. The MEGA65 will pause whatever it is doing, flicker the border color, then open the Freezer menu. Whatever program was running remains in memory and can be resumed by pressing the F3 key from the Freezer menu. You can also abandon the running program and reset the MEGA65 by pressing F5.

There are many useful features in the Freezer menu. Try them out!
One feature to remember when playing games is the “(J)OY SWAP.” This causes the two joystick ports to trade numbers. If you have a joystick in port 2 and you start a game that expects a joystick in port 1, instead of disconnecting and reconnecting the joystick, open the Freezer menu, press J to swap the port numbers, then resume your game.
Disk images
One of the MEGA65’s most useful features is its virtual disk drive. Of course, you can use vintage 3-1/2” floppy disks with the MEGA65’s built-in physical drive. More often, you will use files that represent disks (“disk images”) that reside on a modern SD memory card. You can use the Freezer menu to tell MEGA65 whether to use the physical drive or a disk image file as a disk drive.
MEGA65 comes bundled with several disk images, including one named MEGA65.D81 that contains the demonstration menu. You can make your own D81 disk images, and can download MEGA65 software as D81 disk image files over the Internet using your PC.
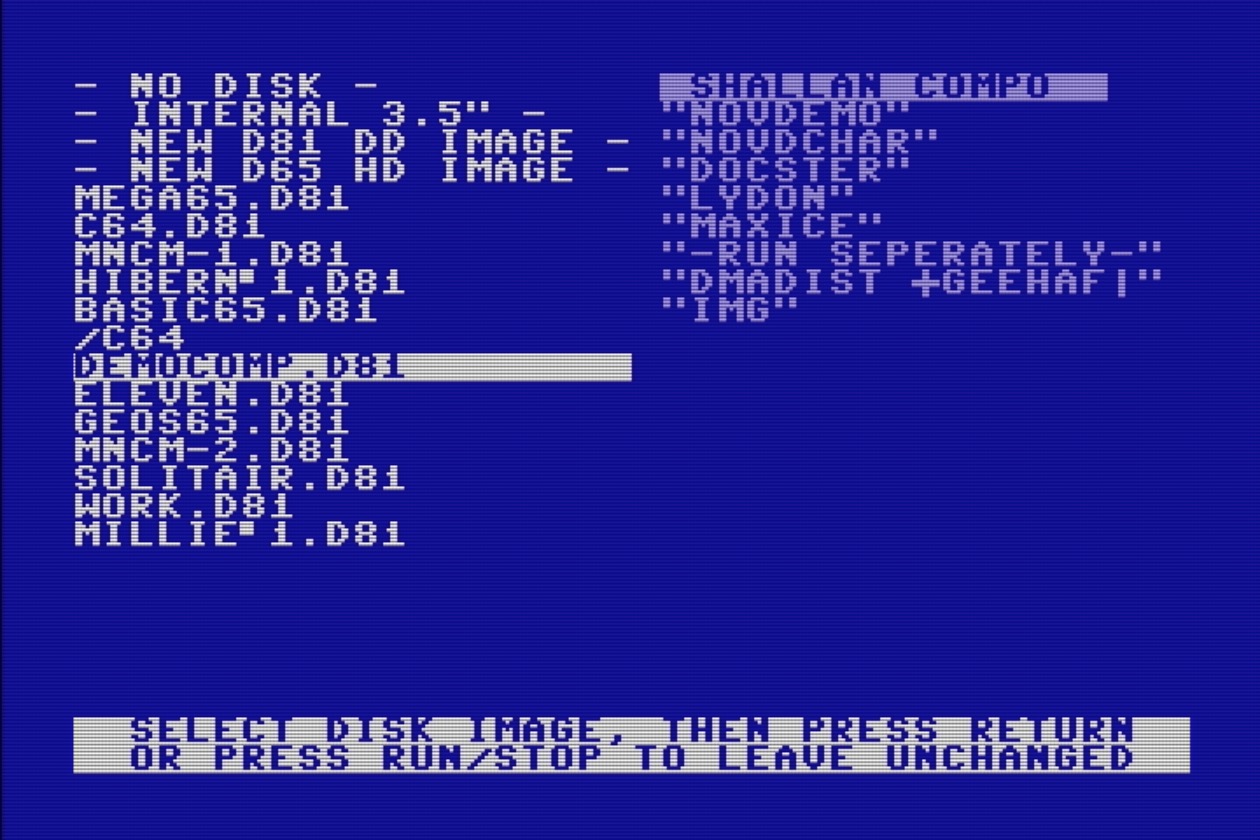
Try browsing one of the disk images included with your MEGA65:
If the Freezer menu is not already open, hold the Restore key for a second then release it.
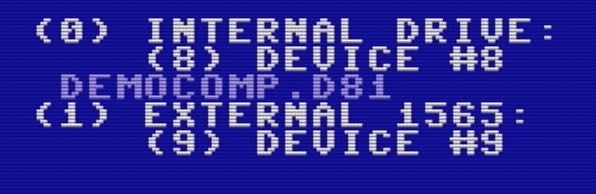
Press 0 (zero) to see the options for setting up the first drive.
Use the cursor keys to navigate to
DEMOCOMP.D81. Press Return to select it.Notice that the disk image name appears under the “Internal drive” in the Freezer menu.
Press F3 to resume the MEGA65 with this disk image in the virtual drive.
Loading and running a program from disk
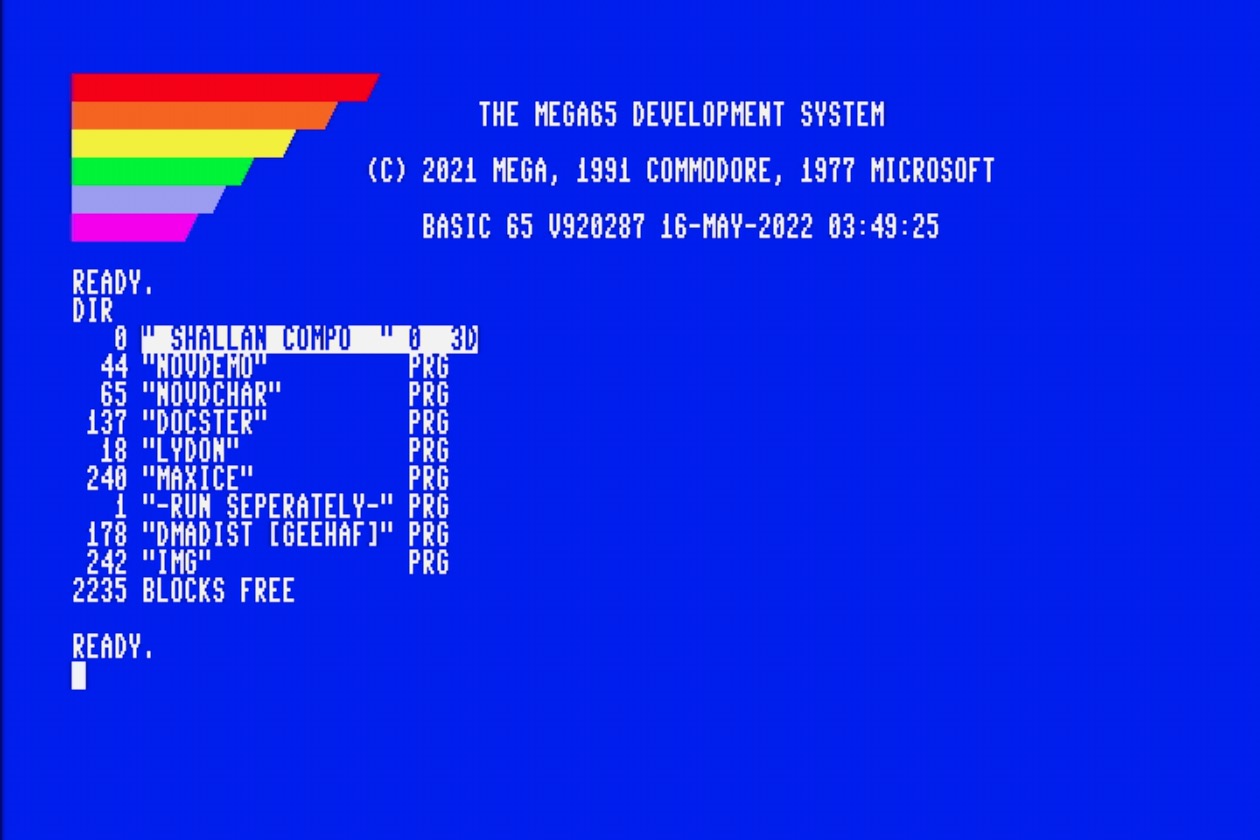
You now have the DEMOCOMP.D81 disk image mounted to device 8 (drive 0). Let’s see what’s on the disk! Enter the following command at the BASIC READY. prompt (type the command then press Return):
DIR
This lists all of the files on the disk, also known as the disk directory.
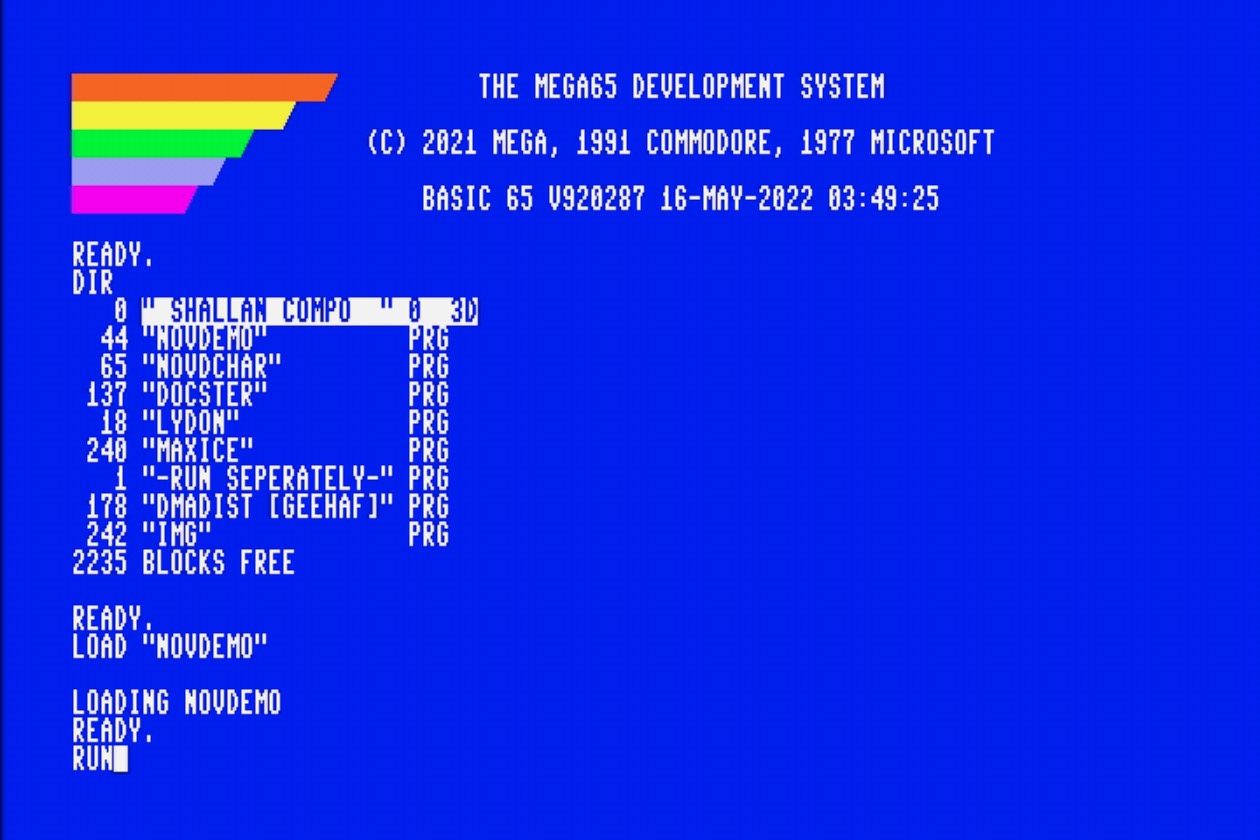
You can use the DLOAD command to load a program off of the disk by name:
DLOAD "NOVDEMO"
If you’ve used a Commodore 64, you may remember having to type ,8 or ,8,1 after a LOAD command when loading from a disk drive. With MEGA65, unit 8 is the default, so this can be omitted.
Enter the RUN command to start the NOVDEMO program.
RUN
Tip
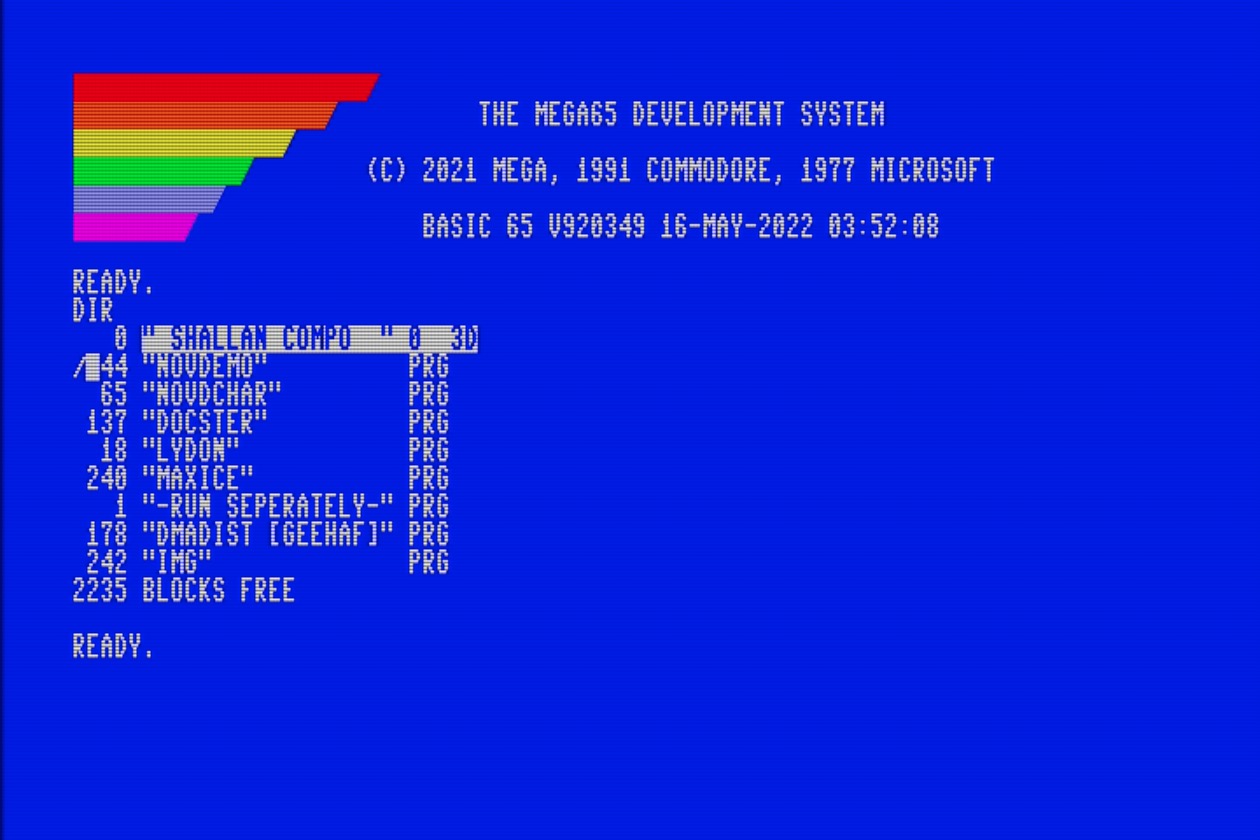
A common trick you may remember from your Commodore 64 is, instead of typing the full filename of something you wish to LOAD, you can list the directory of the disk, then move the cursor up to the line with the name of the program and type LOAD at the beginning of the line to form the command.
This works on the MEGA65 too, but MEGA65 has a faster way: just type / (forward slash) at the beginning of the line, then press Return. Unlike with LOAD, you do not need to clear away the extra characters on the line for the / to work.
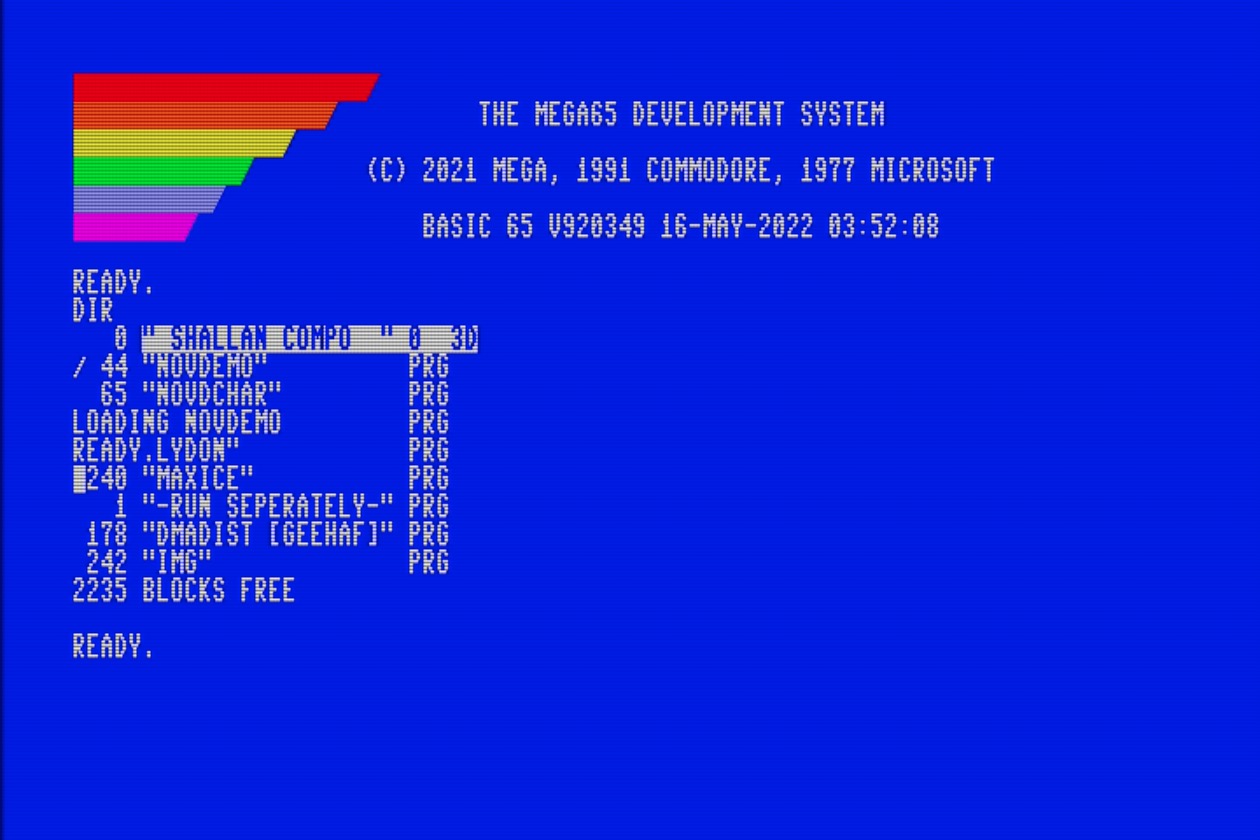
To load and run the program automatically, type the ↑ (up arrow) symbol at the beginning of the line, then press Return. This is the up-arrow key next to the Restore key, not the cursor-up key. (With a 2022 MEGA65, you may need to update your system software to get this feature.)
When you’re done enjoying the demo, you can press the reset button, or use the Freezer menu and press F5 to reset.
Commodore 64 mode
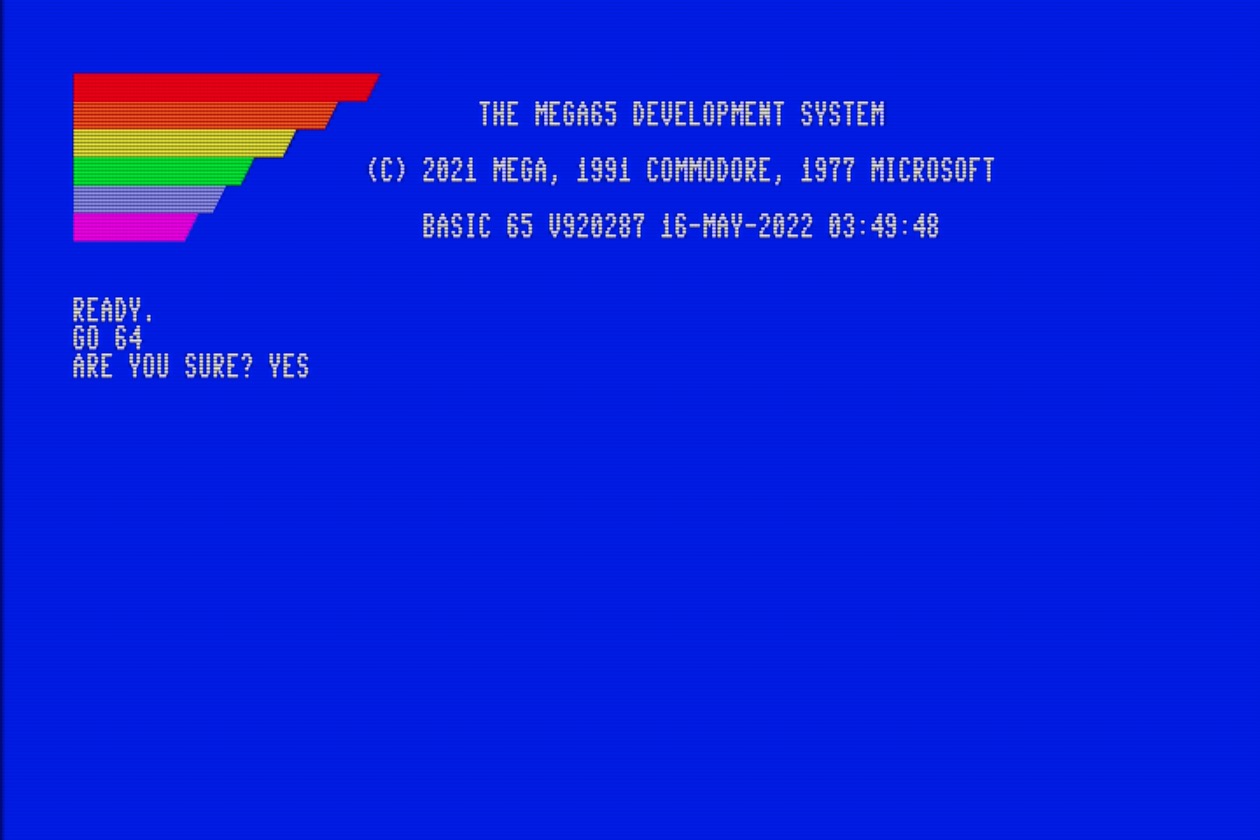
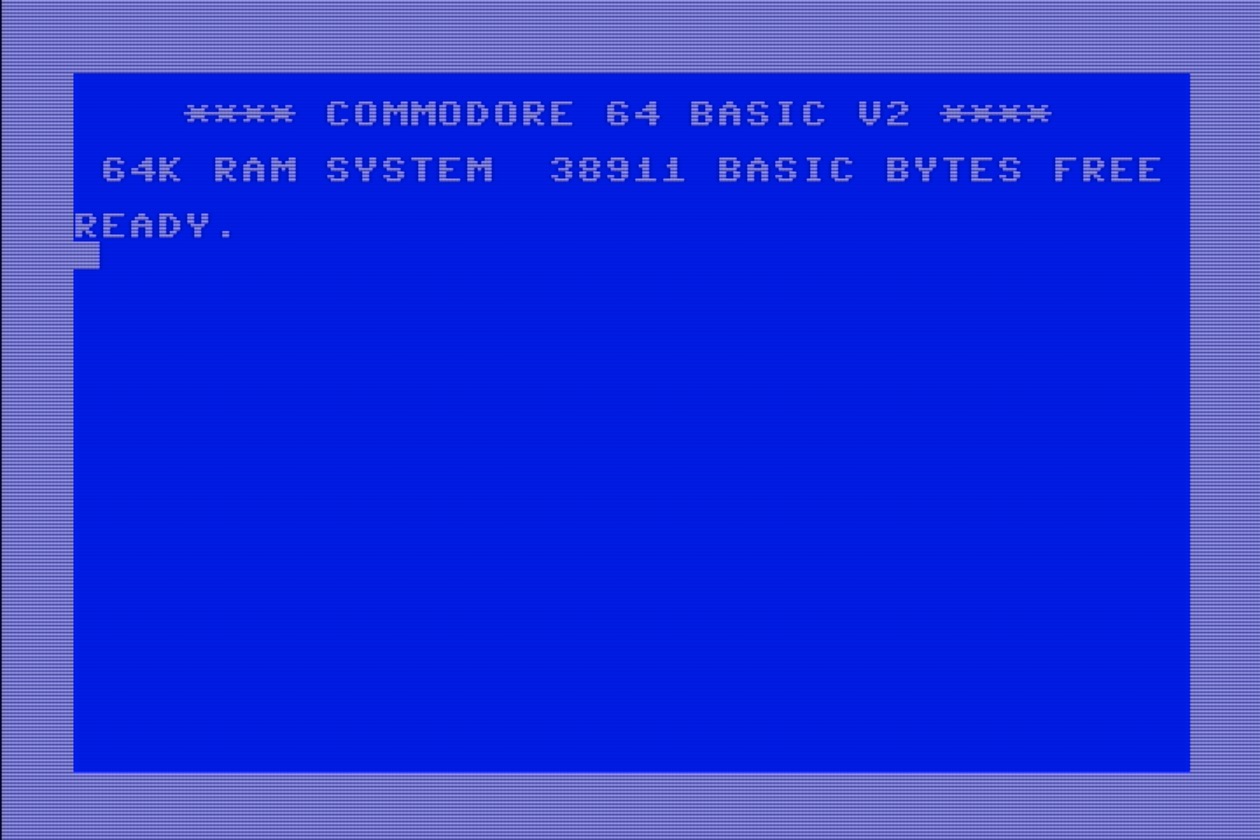
Like the Commodore 65 on which it is based, the MEGA65 can run in a Commodore 64 compatibility mode. From BASIC, enter this command, then type YES to confirm:
GO 64
The Freezer menu is accessible when in C64 mode, and can be used to mount D81 disk images (or the physical disk drive) with disks containing C64 software.
MEGA65 includes a D81 disk image with C64 games and demos, named C64.D81. Use the Freezer menu to mount it to the first drive, then resume C64 mode. Use C64 commands to access the disk in unit 8.
LOAD "$",8
LIST
LOAD "DIGILOI",8
RUN
Some of the programs on the C64.D81 disk only work with the PAL video setting. If your monitor supports it, change this setting in the Freezer menu.
Note
MEGA65 currently only supports D81 disk images. Support for the more common D64 format that represents a Commodore 64 5-1/4” floppy disk may be added in a future update.
C64 mode is not to be confused with the C64 core, an alternate way to run C64 software on the MEGA65 which we will discuss later in this guide. The C64 core supports D64 disk images, in a different way.
Do not expect C64 mode to be compatible with all Commodore 64 software. Due to how the Commodore 65 was originally designed, GO 64 can never be fully compatible. In contrast, the C64 core reproduces the Commodore 64 hardware in the MEGA65 firmware and is expected to run nearly all Commodore 64 software.
Configuring your MEGA65
I mentioned that the settings from the on-boarding process can be adjusted later. These settings and more are available in the built-in configuration utility.
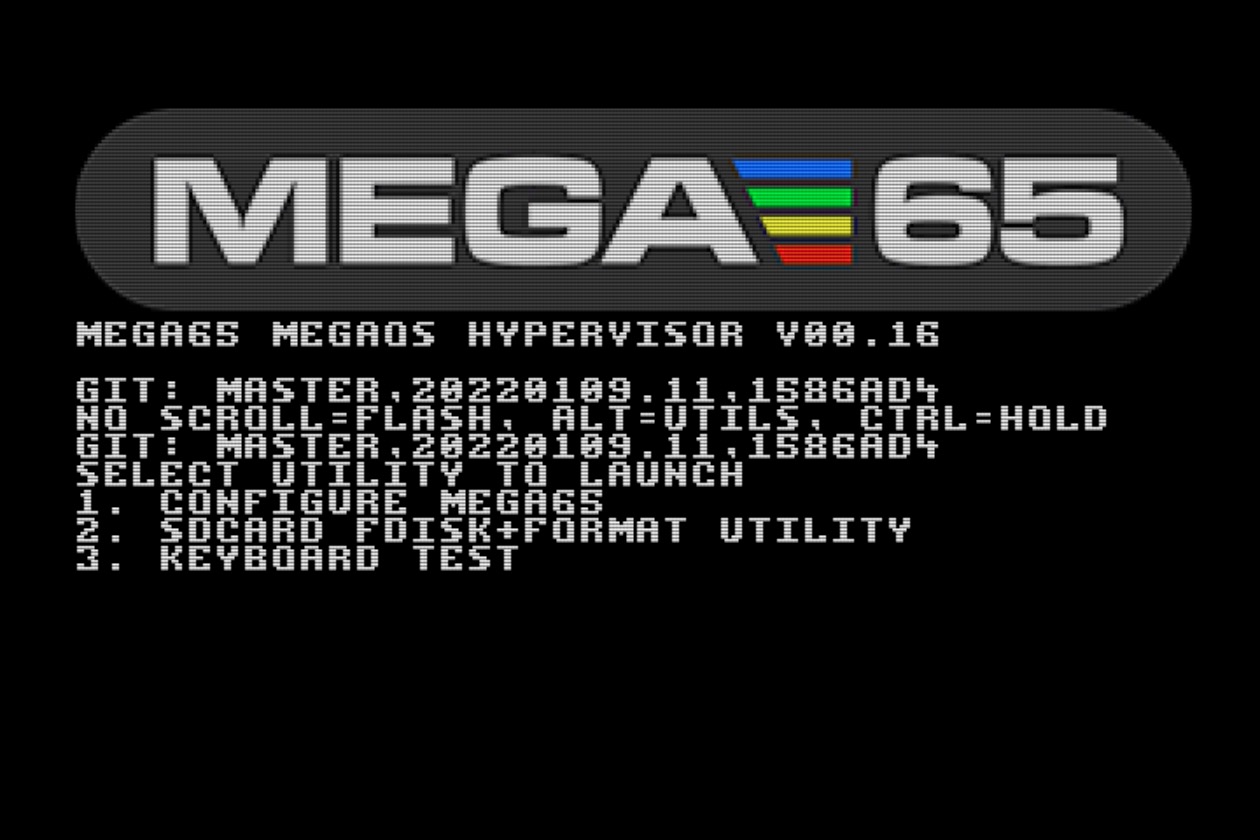
To start the configuration utility, turn off your MEGA65, then hold the Alt key (top row near the left) and turn it on. Select option 1: Configure MEGA65 (press 1).
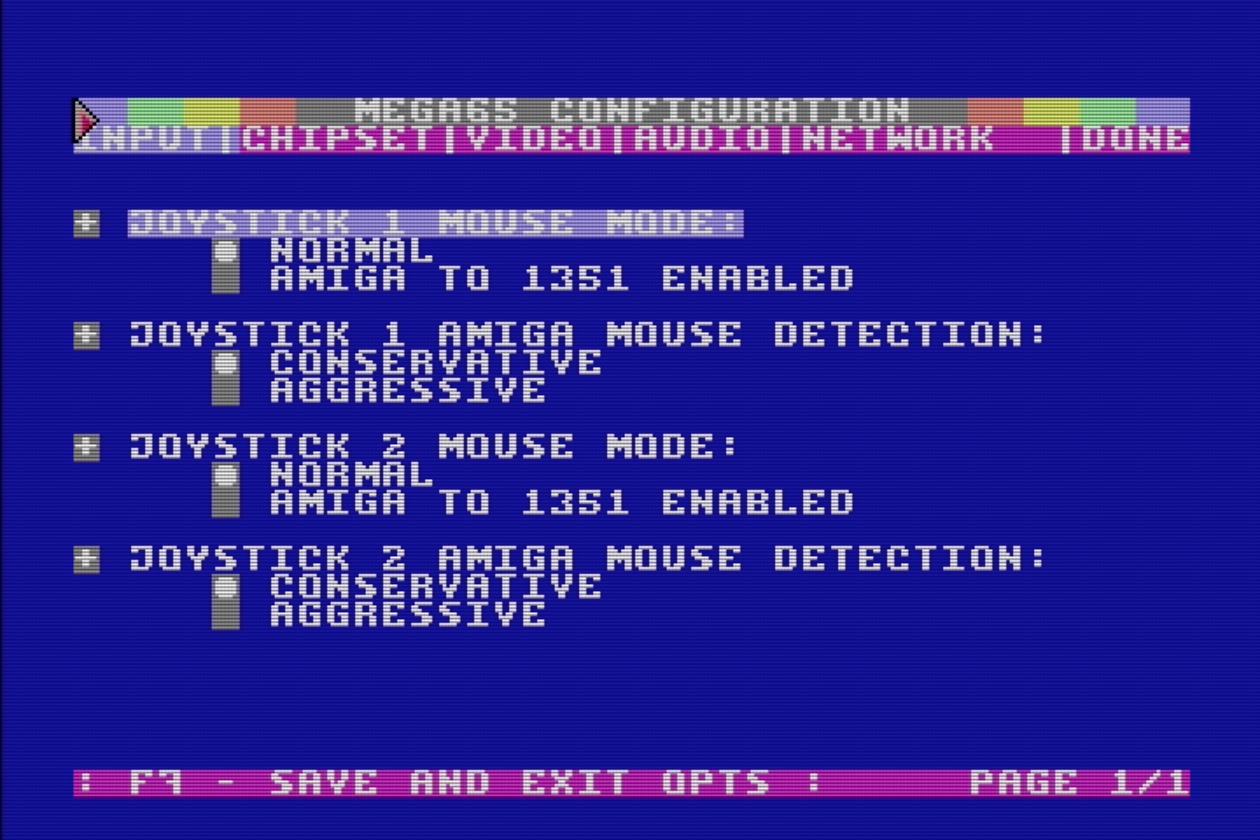
You can use the cursor keys or a mouse to navigate the configuration options. This is also a good way to test whether your mouse is working. Useful options include:
Input: mouse configuration. You can enable the use of Amiga mice on either port.
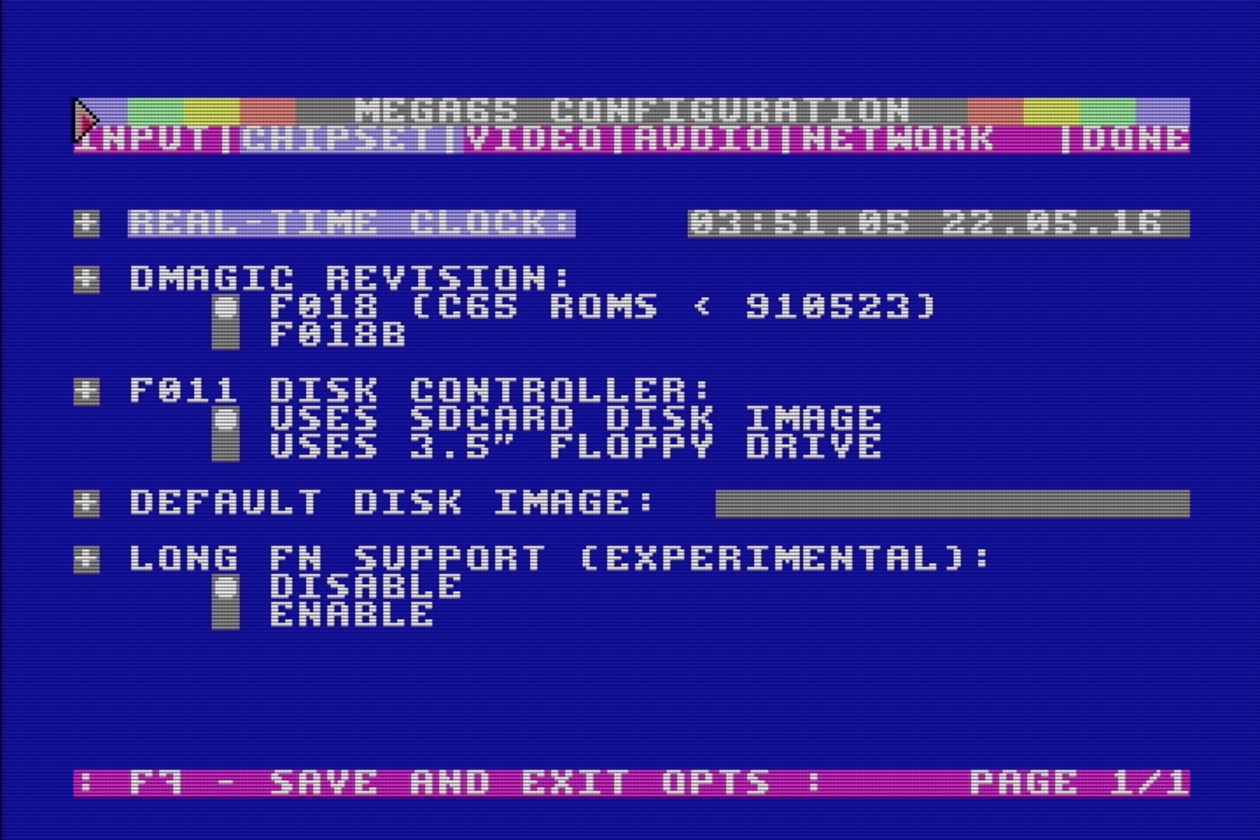
Chipset: Real-Time Clock. This is how you set the date and time, which I told you to skip during on-boarding because you haven’t installed the battery yet.
Chipset: Default Disk Image. Specify a D81 filename to load by default when you turn on the computer.
Video: All of the video options from the on-boarding screen.
Note
The time and date setting in the configuration utility has changed between the early 2022 and late 2022 versions of the MEGA65.
If you received your MEGA65 in early 2022, it uses the following time and date format: HH:MM:SS YY/MM/DD (That’s hours, minutes, seconds, the year, the month, and the day of the month.) It doesn’t prevent you from entering invalid numbers. Take care to use the correct date format.
If you received your MEGA65 after late 2022, the time and date are separate settings. You must press Return in these fields for each setting to take effect. It may look like nothing has happened. You can confirm that the setting was submitted correctly by selecting a different page of the Configuration menu, then switching back to the Chipset page.
Under “Done,” you can save these settings as defaults. These settings are stored on the SD card, except for the Real-Time Clock which sets the clock hardware.