Using the JTAG connector
The MEGA65 main board has a 12-pin JTAG connector, a standard for connecting test equipment to devices. It is not intended for regular users of a device—but we MEGA65 owners are not regular users, are we?
With a JTAG USB adapter and software available on Filehost, you can connect your PC directly to the main board to:
Upload and execute programs being cross-developed on a PC
Transfer files between your PC and MEGA65 without removing the SD card
Perform remote debugging on programs and the built-in MEGA65 utilities
Upload ROMs and cores for testing
Use your MEGA65 as a SID music player (!)
The MEGA65 does not have a user-accessible port for the JTAG connection. You will have to acquire a JTAG USB adapter and a mini-USB cable, install it, and run the cable out the back of the MEGA65 case.
Tip
You can also use a more common USB UART adapter for most of the purposes described below (sending files and commands). The adapter must output 3.3 volts, not 5 volts. Test your adapter with a volt meter before using. See Use of an USB UART adapter as alternative to a JTAG adapter for instructions on how to wire a UART to the JTAG connector pins. See also this article by RetroCombs.
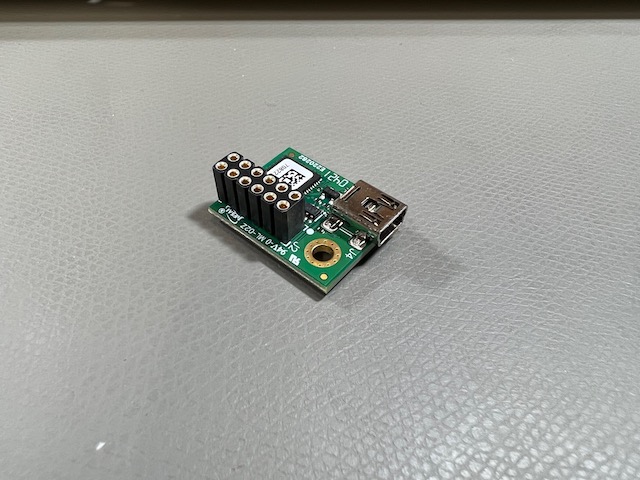
Photos below show how to connect the TE0790-03 JTAG adapter.
Tip
For another version of these instructions with more photos, see JTAG adapter, how to plug and DIP switch settings.
Acquiring a JTAG adapter
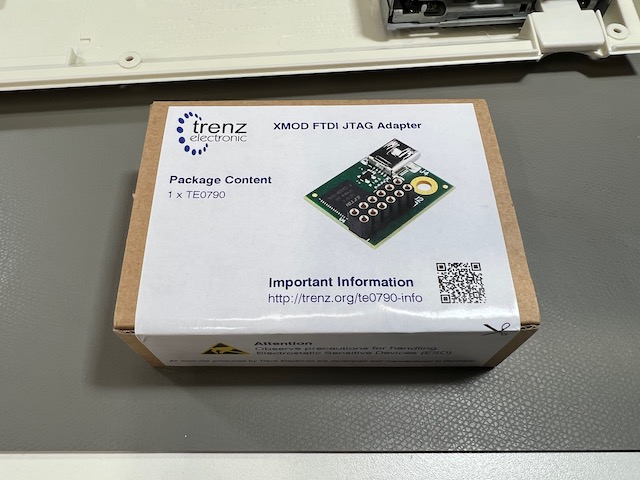
The XMOD FTDI JTAG Adapter TE0790-03L (Trenz Electronic) is compatible with the MEGA65. (The TE0790-03 is the same part with a Xilinx license, which you do not need to use MEGA65 tools.) You might also be able to order the TE0790-03 from DigiKey. As of this writing, this item is difficult to get due to supply chain issues. Trenz is accepting backorders (even though “in stock” says zero) and will be fulfilling them as parts become available.
Installing the JTAG adapter
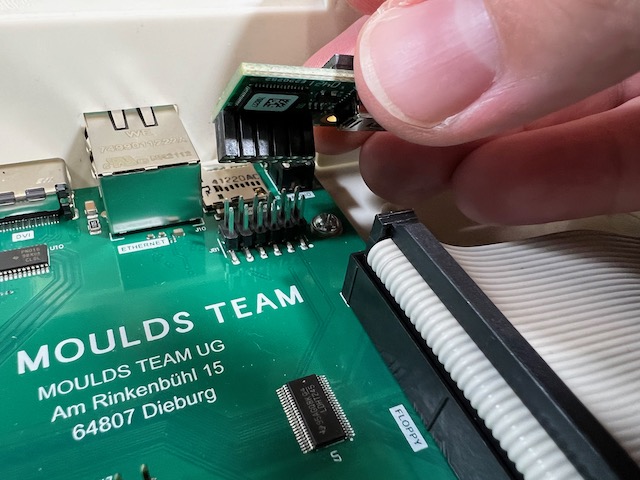
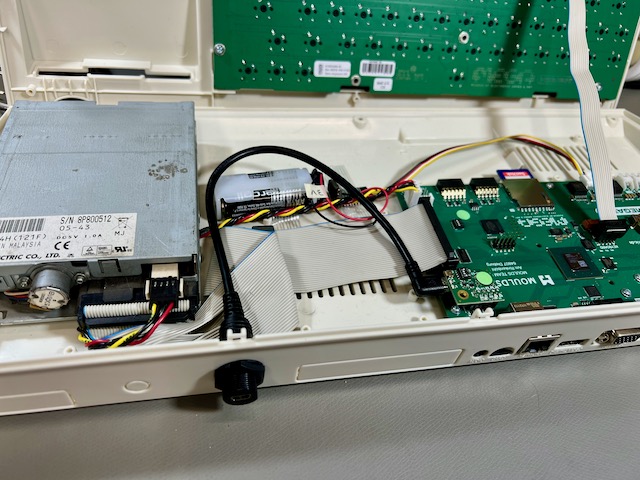
You will have to open the MEGA65 case to connect the adapter to the 12-pin JTAG connector on the main board, in the back right corner. (See Opening the MEGA65 case for an annotated photo of the main board.) The adapter connects with the mini-USB connector facing to the right.
Use a pin or a small screwdriver to set the DIP switches on the connector to 1=on, 2=off, 3=off, 4=on (when read back to front: left, right, right, left), as shown. This configures the adapter to draw power from your PC over the USB cable, which ensures a steady connection.
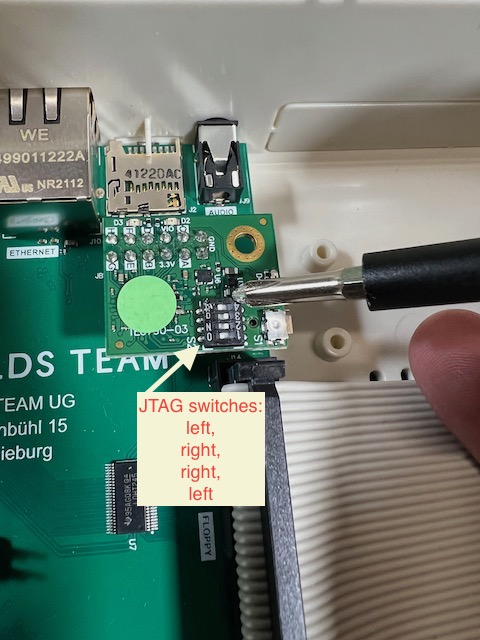
Other documentation suggests 1=on, 2=off, 3=on, 4=off (when read back to front: right, left, right, left), which tells the JTAG to draw power from the MEGA65. With this setting, turning off the MEGA65 disconnects the JTAG from the PC, which is inconvenient for debugging tools.
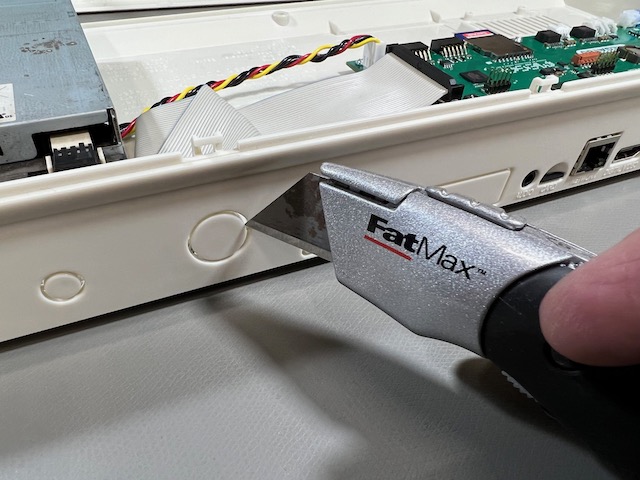
Connect a mini-USB cable to the JTAG connector, and run the cable out the back of the MEGA65 case. You can feed it out the cartridge port (potentially blocking access to the port), or punch out one of the unused port covers in the back case. Connect the other end to your PC.
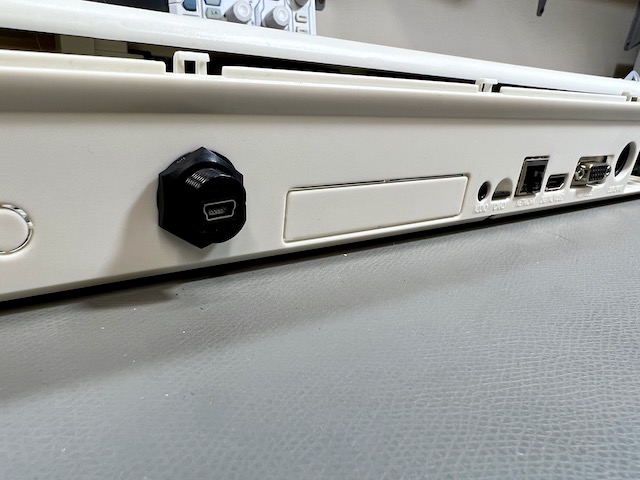
I used a Mini USB panel mount cable (30 cm/12 in, right-angled) to extend the mini-USB jack to the back of the case, then punched out one of the unused holes for it with a utility knife. The mount cable includes a washer and nut to hold firmly to the 17 mm hole. I then connect it to my PC with a standard USB Mini B Male to USB A Male cable.

Tip
This Ribu mini USB panel socket has a nice metal mount and is more flush with the case than the plastic mount I used. It needs an additional washer to avoid falling into the case.
Using M65Connect over serial
In addition to Ethernet file transfer, M65Connect can also perform certain functions (including file transfer) over a serial or JTAG connection.
If you’re on a Mac, you will need to install a library called libusb. Install the Homebrew package manager if you don’t already have it installed, then run this command:
brew install libusb-compat
If you’re using Linux, open the Help menu and select Manual to view the M65Connect user manual, then follow the instructions in the Requirements section.
To set up M65Connect for a serial connection for the first time:
Turn off your MEGA65.
Connect the MEGA65 to your PC via the JTAG connection and USB cable that you installed.
Start M65Connect. It begins by attempting to identify the serial port.
Follow the prompts. When prompted, turn your MEGA65 on. If everything is working, the Connection Wizard will detect the connection and close the window. If the window doesn’t close in a few seconds, click Abort and proceed with setting up the connection settings manually.
The M65Connect manual has advice on troubleshooting connection issues: go to the Help menu, select Manual. I won’t repeat all of it here, but advice that I personally found useful when doing this on my Mac (M65Connect 1.8, Intel MacBook Pro, macOS 12.3.1):
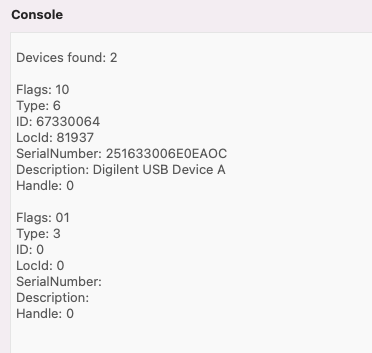
The Command menu, List FTDI Devices is a good start for making sure the JTAG is connected. Even with the MEGA65 turned off, it should list two devices when connected, one with flags “10” and one with flags “01”. My JTAG device description is “Digilent USB Device A”.
The Settings menu, Connection lets you pick a serial port manually. On my Mac, I have four
/dev/cu.usbserial...devices, some of which have numbers similar to (though not identical to) the device SerialNumber printed by List FTDI Devices.

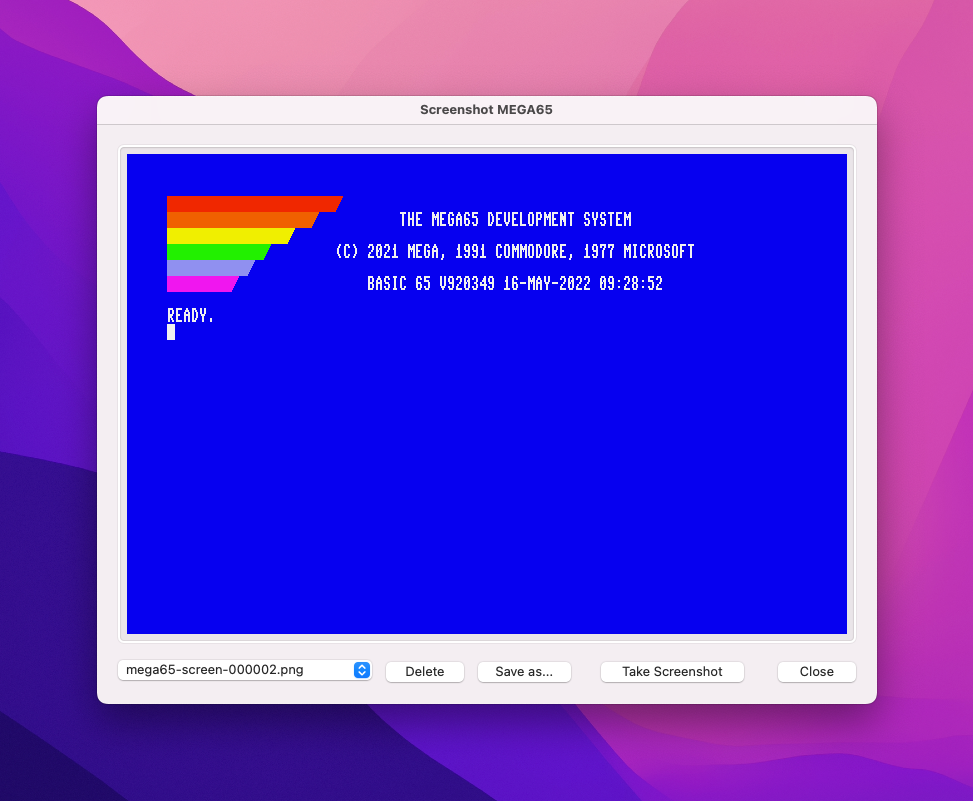
If it looks like it should be connected, use the buttons at the top of the M65Connect window to attempt remote actions. For example,
Screenshotwill ask the MEGA65 to take a screenshot and M65Connect will display it. If it fails, it should print error messages in the main M65Connect window.
Tip
In my case, I discovered that the connection would not work if the USB cable was connected to my USB hub. Connecting directly to the USB port on my laptop resolved the issue.
Sending data to MEGA65
The M65Connect app can send data directly to the MEGA65’s memory. In most cases the data is loaded directly into memory, then used for its intended purpose. The data goes away when you turn off the MEGA65. This is useful for testing, but not useful for permanent installation.
PRG:
Sends a
.PRGprogram file and runs it immediately.M65Connect prompts you with options: whether to run in C64 mode, how it would be loaded from disk, and others.
SID:
Sends a
.SIDmusic file and plays it using a built-in SID player.Press number keys to select tracks in multi-track SIDs.
It’s ugly, but it works!

BIT:
Sends a
.BITbitstream file, and resets using this file as the core.Note that this takes the
.BITfile, not the.CORfile. Most cores provide files in both formats.This does not install the core in a slot, it just runs the core for the current session.
HIC:
Sends a “Hickup” file, which temporarily updates the Hypervisor.
Only useful for developers working on the system software.
ROM:
Sends a MEGA65 ROM and resets with it in memory.
BAS:
Sends a text file as if it is being typed into the MEGA65, such as a BASIC program listing.
This capability is limited to a subset of the PETSCII character set. It conflates ASCII letter casing and does not support special characters.
Tip
If you’re developing a BASIC program on your PC to send to the MEGA65 over the JTAG connection for testing, you might prefer converting it to a PRG and sending the PRG instead of trying to send the BASIC program listing. See “The m65 command line tool” below for an example workflow.
Caution
As with Ethernet file transfer, many of these upload actions reset the MEGA65 in the process, and will not warn you. Make sure you don’t have any unsaved data.
Other cool things M65Connect can do
M65Connect can also do these cool things:
Reset the MEGA65 (
RESET).Reset in C64 mode (
Go64).Switch between NTSC and PAL video modes (
NTSC,PAL). This does not reset the machine.Take a screenshot of what is on the MEGA65 display (
Screenshot).Type into the MEGA65 from your PC keyboard. Click “Keyboard,” then type normally, and access the non-standard keys by clicking on the virtual keyboard that appears.
Remote machine language monitoring and debugging. See the built-in manual (Help menu, Manual), Terminal tab.
Tip
For more information, see the M65Connect README.
The m65 command line tool
The m65 command line tool can do many of the things M65Connect can do, and more. It’s a much more technical tool, used by the MEGA65 team and Trenz Electronic to test, troubleshoot, and verify MEGA65 units before shipment. It could also be useful for software developers that want to automate cross-development tasks.
You can download pre-made binaries of the m65 command line tool from Filehost. Search for “MEGA65 Tools Release Package” and select the file for your operating system. You can also get the source code, with build instructions for your platform.
macOS: prepare the tool for use
Getting the downloadable binary to work on a Mac requires a few steps:
Download the MEGA65 Tools package for Mac. Double-click the archive file in Finder to expand it.
Open a Terminal, then navigate to the folder. For example:
cd ~/Downloads/m65tools-master-...-macosRemove the
*.osxfiles from quarantine:xattr -d com.apple.quarantine *.osxOptional: Rename each file to remove the
.osxextension, to match the examples:mv m65.osx m65Optional: Move the files to a location on your command path.
You can now run the m65 command at a command prompt or in a script.
Determining the serial port
The latest version of m65 has the ability to determine the serial port automatically.
To ask m65 to determine the serial port and print its location for use in other tools, use the -j argument: ./m65 -j
As of this writing, other tools such as mega65_ftp need the serial port location provided manually. To specify this, use the -l argument: ./mega65_ftp -l /dev/cu.usbserial...
Running m65
The m65 command can perform a variety of functions determined by command line arguments. Run m65 without arguments to see a list of functions and options.
For example, to get it to type ?TI$ followed by Return (this prints the current Real-Time Clock value in BASIC):
./m65 -T "?ti$"
For uploading programs, m65 just takes the filename, and figures out what to do based on the filename extension. To load a PRG file into memory:
./m65 myprogram.prg
Tip
The petcat command line tool included with the VICE emulator can convert a BASIC program listing in a text file to a PRG that the MEGA65 can run. It supports PETSCII special characters as bracketed labels, such as {clr}, and it knows all about MEGA65 BASIC.
For example, say you have a BASIC program listing named myprogram.bas:
10 screen 320, 200, 5
20 for x=0 to 31
30 pen x
40 circle x*10+10, x*10+10, x*5
50 next x
60 sleep 3
70 screen close
80 color 0
90 print "{clr}{wht}have a {cyn}nice{wht} day!"
To convert this BASIC program listing to a PRG file with petcat, upload it to the MEGA65, then run it (using your actual serial port device name for /dev/cu.usbserial...):
petcat -w65 -o myprogram.prg -- myprogram.bas
m65 mylisting.prg
m65 -T "run"
Finding other JTAG tools
If you’re interested in the debugging programs remotely, download the M65 Debugger app from Filehost (Windows, Mac, or Linux). See the m65dbg README for more information on how to use the debugger, including video tutorials.
You can use the mega65_ftp command line tool to perform the SD Card file transfer functions of the M65Connect app.